Scopri un mondo web senza pari con le nostre soluzioni di hosting innovative!
Esplorate le opzioni affidabili, sicure e ad alte prestazioni per tutte le vostre esigenze online.
Tutte le nostre soluzioni di hosting webScopri una potenza ineguagliabile con i nostri server VPS su misura!
Sperimentate la libertà e la potenza con il nostro VPS, progettato per portare i vostri progetti a nuove altezze!
Tutti i nostri server VPSOttimizza i tuoi bot con il nostro hosting dedicato e potente!
Sperimentate una gestione fluida e prestazioni ottimali con il nostro hosting per bot.
Tutte le nostre offerte per botNuova Offerta BoxGaming
Scopri la nostra nuova offerta nei data center in Francia e Stati Uniti. Cambia tipo di server in qualsiasi momento con un'unica offerta.
Scopri l'offertaPotenzia i server di gioco con il nostro hosting specializzato!
Immergetevi nell'esperienza di gioco definitiva con il nostro hosting potente e ottimizzato!
Tutte le nostre offerte MinecraftServizi professionali (B2B)
Le offerte qui elencate sono destinate ai professionisti. Se siete privati, vi invitiamo a consultare le nostre offerte per il pubblico.
-
OuiHeberg in breve
OuiHeberg, il tuo partner web indispensabile! -
Stato dei servizi
Rimani aggiornato con il nostro monitoraggio in tempo reale! -
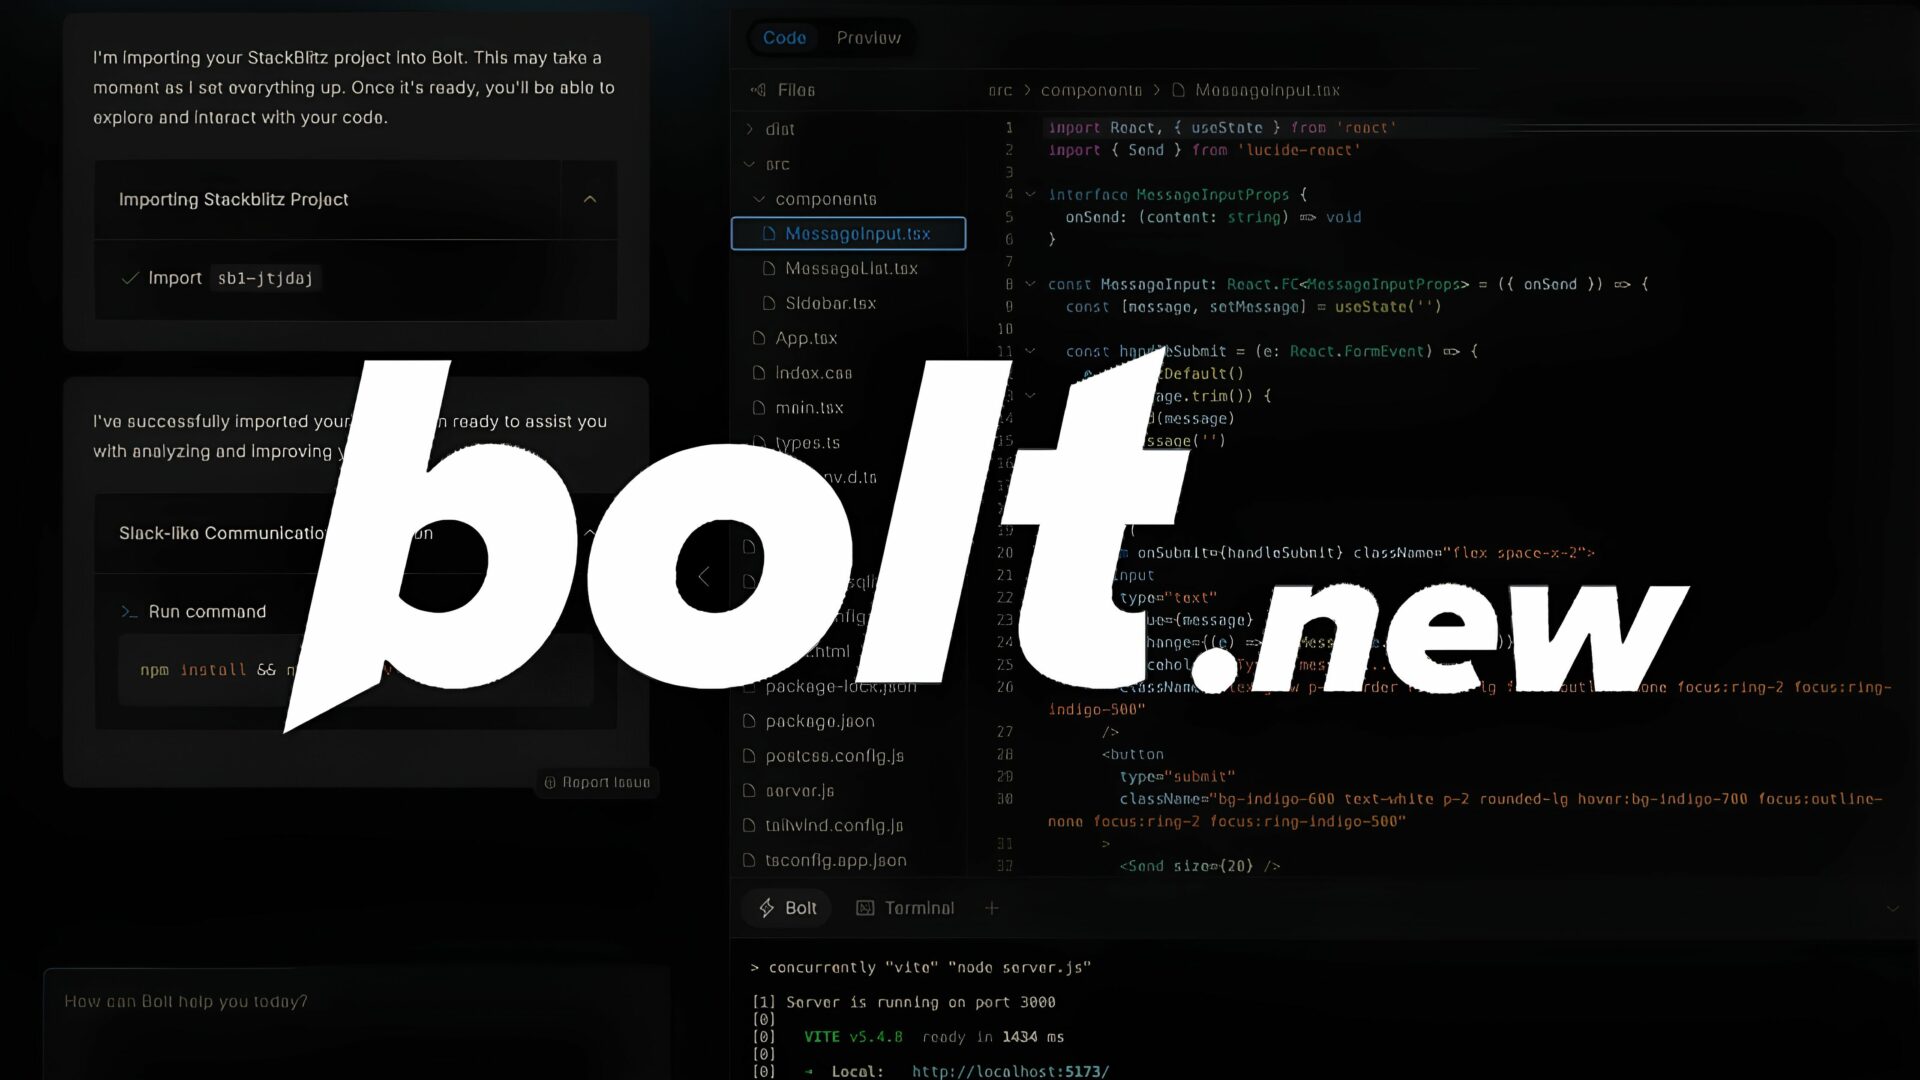
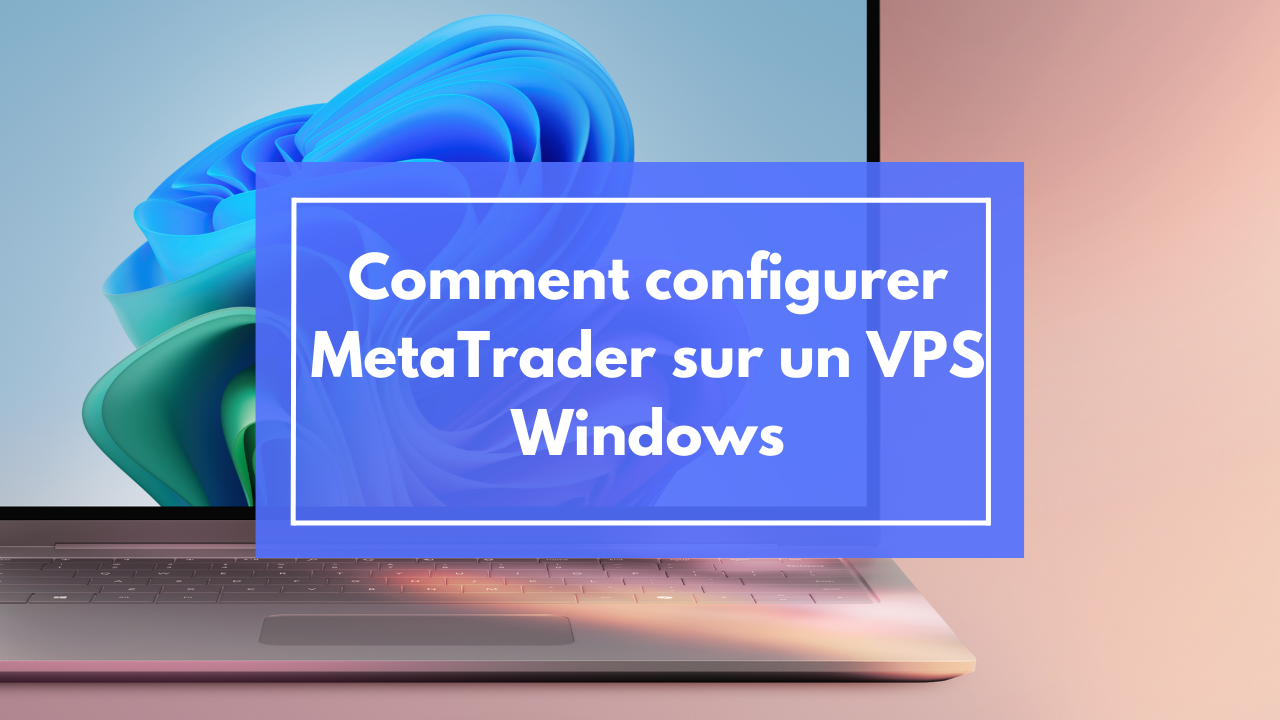
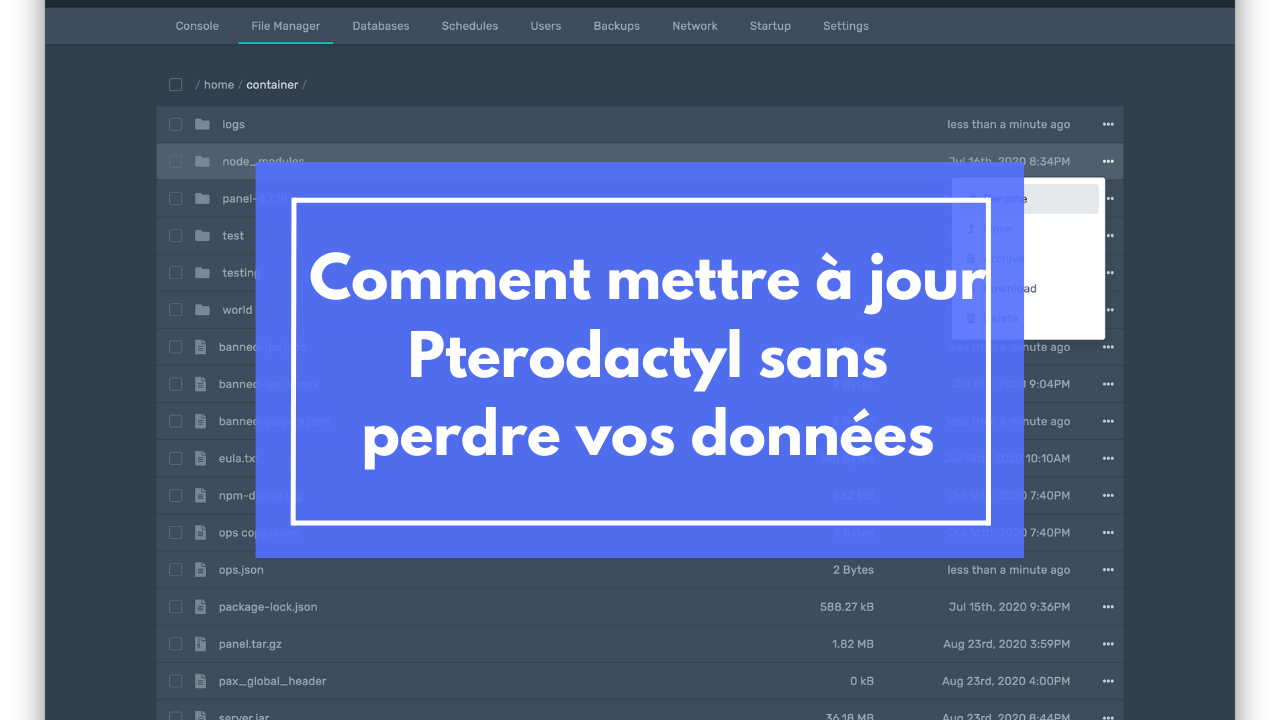
Blog
Scopri le nostre novità e consigli tecnici! -
Contatti
Hai bisogno di aiuto? Contattaci subito! -
Discord
Unisciti alla nostra community su Discord oggi stesso!