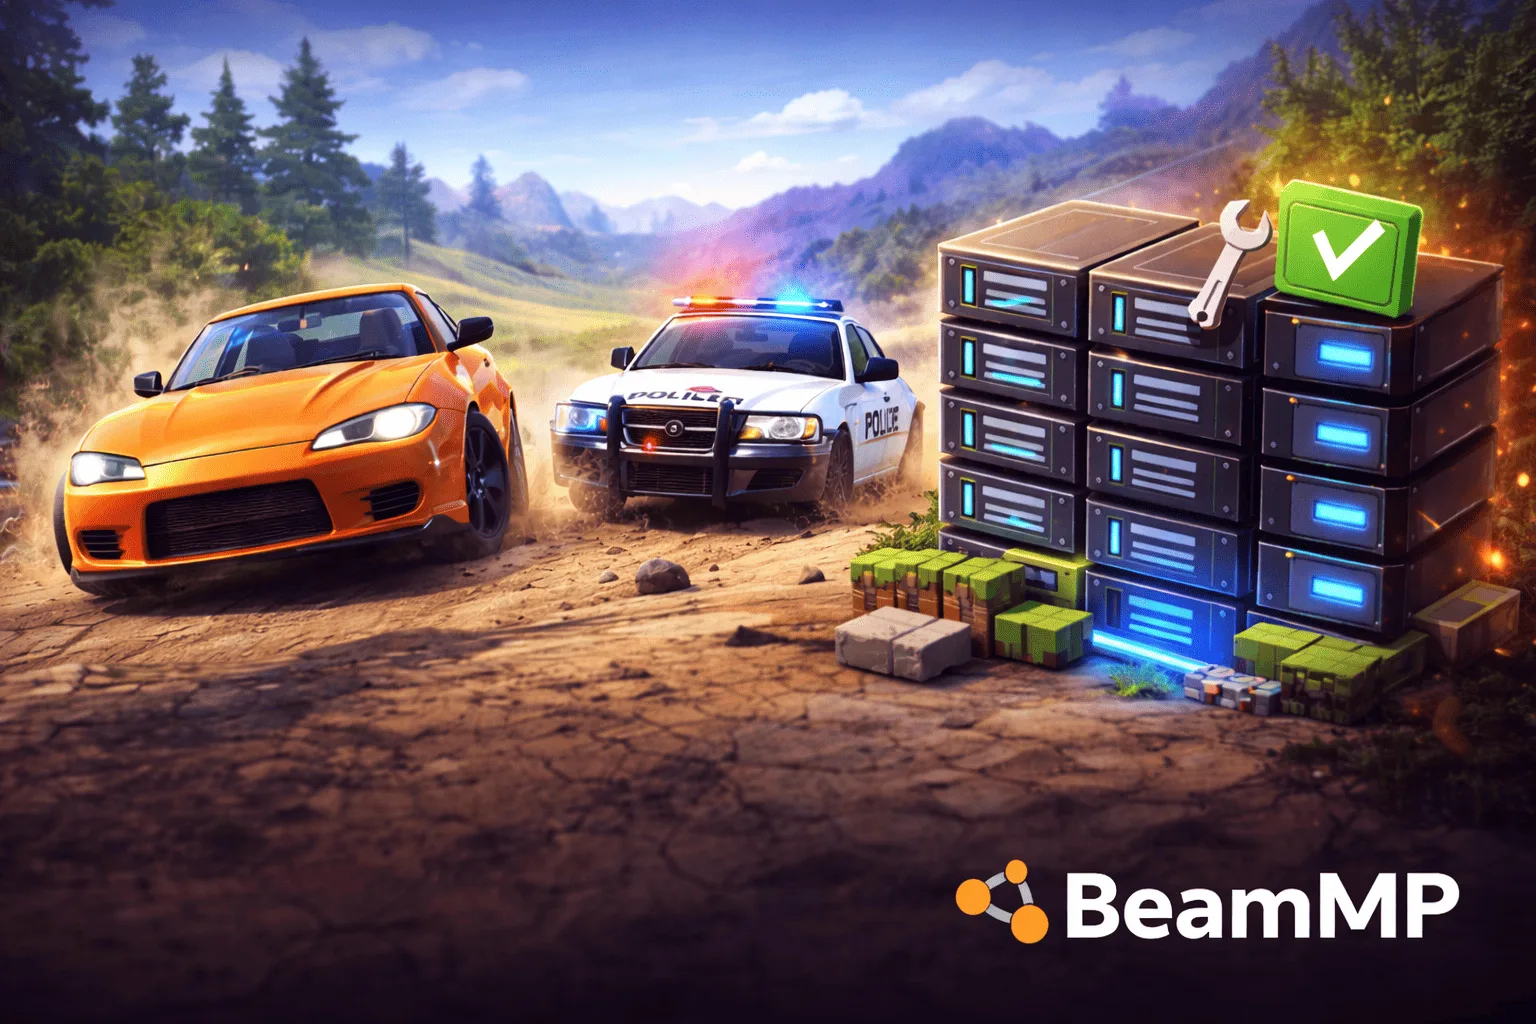
BeamMP: How to Create a BeamNG.drive Multiplayer Server
BeamNG.drive is known for its ultra-realistic car physics simulation, but the game remains primarily a solo experience. This is where BeamMP comes into play: this free mod transforms BeamNG.drive into a multiplayer experience, allowing you to drive, crash, and explore maps with your friends on the same server.
Creating your own BeamMP server allows you to choose the map, add mods (vehicles, tracks), control who joins the game, and keep the server online 24/7. This guide takes you from A to Z: obtaining the authentication key, creating the server, configuring it, and adding mods.
What is BeamMP?
BeamMP is an open-source multiplayer mod for BeamNG.drive. It adds a full multiplayer mode to the game: server list, direct connection, synchronization of vehicles and physics between players. The mod is free and compatible with all maps and vehicles in BeamNG.drive, including custom mods.
To play BeamNG multiplayer, each player must own BeamNG.drive on Steam and install the BeamMP Launcher (downloadable for free on beammp.com). The launcher replaces the game's classic launcher and adds a "Multiplayer" tab with the list of public servers and direct connection.
The default port for a BeamNG drive server is 30814 (TCP+UDP).
Prerequisites
Before creating your BeamMP server, make sure you have the following items.
Player side: BeamNG.drive purchased on Steam (mandatory, no cracked version). The BeamMP Launcher installed (available on beammp.com). A BeamMP account (free, creation on the official site).
Server side: A game server hosting (OuiHeberg or self-hosting). A BeamMP authentication key (free, obtained via the Keymaster). The ServerConfig.toml configuration file (automatically generated on first launch).
The authentication key is often the stumbling block for beginners. Without it, the server refuses to start. The next section details how to obtain it.
Create a BeamMP Server with OuiHeberg
Obtain the BeamMP Authentication Key
The authentication key (AuthKey) is a unique identifier that links your server to your BeamMP account. It is mandatory for the server to function and appear in the public list.
Go to the BeamMP Keymaster site (beammp.com/keymaster). Log in with your BeamMP account (or create one if not done). Click on "Keys" in the left sidebar. Click the green "+" button to generate a new key. Enter a name to identify your server (e.g., "My Drift Server") and your IP address (that of your host). Copy the generated key and keep it safe. Never share it publicly.
Each key is linked to a single server. If you have multiple BeamMP servers, you will need one key per server.
Configure via OuiPanel
At OuiHeberg, creating a BeamMP server takes less than 5 minutes.
Go to the BeamMP hosting page and order a OuiBox. For 1 to 10 players with a few mods, an 8 GB OuiBox is sufficient. Log in to OuiPanel and create a new server by selecting BeamMP from the list of games. The server installs automatically.
Once the server is created, open the settings or the ServerConfig.toml file via the File Manager. Paste your AuthKey in the corresponding field: AuthKey = 'your-key-here'. Configure the server name (Name), the maximum number of players (MaxPlayers), and the map (Map). Save.
Launch and Connect
Start the server from OuiPanel. In the console, you should see the startup logs without error messages. If you see [ERROR] No AuthKey specified, check that your key is correctly pasted between the single quotes in the config file.
To connect, launch the BeamMP Launcher (not the classic Steam launcher). Click on "Multiplayer," then search for your server name in the list. If your server is in private mode, use the "Direct Connect" tab and enter the IP address and port (displayed in OuiPanel). With a host like OuiHeberg, no need for port forwarding: port 30814 is automatically open.
Configure the Server (ServerConfig.toml)
The ServerConfig.toml file centralizes all the settings of your BeamMP server. Here are the essential parameters.
AuthKey: your authentication key. Mandatory. Never share it.
Name: the name displayed in the server list. Use prefixes to help players find you, for example [FR] MyServer | Drift & Freeroam.
MaxPlayers: maximum number of simultaneous players. The default value is 8. Increase according to your available RAM (count about 1 GB of RAM per 5 players).
Map: the active map. Format: /levels/MAP_NAME/info.json. The default maps of BeamNG.drive work without additional installation. For example: /levels/gridmap_v2/info.json for Gridmap, /levels/west_coast_usa/info.json for West Coast USA, /levels/italy/info.json for Italy, /levels/utah/info.json for Utah.
Private: true to hide the server from the public list (accessible only via direct connection), false to make it visible.
Port: server port. Default 30814. Change it only if you host multiple BeamMP servers on the same machine.
Tags: keywords for search in the server list. Examples: Freeroam, Drift, Racing, RP, lang:french.
Add Mods and Maps
Adding mods on BeamMP is very simple. All mods (vehicles and maps) are placed in the Resources/Client/ folder of your server. Players download them automatically when joining the server.
Custom Vehicles: Download the .zip file of the vehicle mod (from the BeamNG.drive repository or sites like beamng.com/resources). Place the .zip as is in Resources/Client/. Do not unzip it. On the next restart, the vehicle will be available for all players.
Custom Maps: Place the map's .zip file in Resources/Client/. Open the .zip (without extracting) and locate the folder name in levels/. For example, if the folder is called myawesomedriftmap, update the Map parameter in ServerConfig.toml: Map = '/levels/myawesomedriftmap/info.json'. Restart the server.
An important point: the more mods you add, the longer the download time will be for players joining. Keep a reasonable selection and communicate the list of mods on your Discord or server page.
Manage Players
Permissions, Kick, and Ban
BeamMP offers admin commands accessible from the server console (in OuiPanel) or in-game if you are identified as an admin.
To define yourself as an admin, add your BeamMP ID in the [Permissions] section of the ServerConfig.toml or use console commands.
The essential commands are as follows. /kick [player] disconnects a player from the server. /ban [player] permanently bans the player. /unban [player] lifts the ban. /mute [player] mutes the player's chat. /say [message] sends a message to all players from the console.
For more advanced community servers, server-side Lua plugins allow adding features like a role system, custom commands, an economy system (for RP servers), and automated events.
BeamMP FAQ
How much RAM is needed for a BeamMP server? BeamMP is relatively light. For 1 to 10 players with a few vehicle mods, 8 GB of RAM is sufficient. Beyond 15 players or with many mods, switch to 12 GB. The load mainly depends on the number of active vehicles simultaneously on the map.
Do all players need to own BeamNG.drive on Steam? Yes. BeamNG.drive must be purchased on Steam for the BeamMP Launcher to work. The launcher checks the Steam license at startup.
Can you change the map without restarting? No. Changing the map requires modifying the ServerConfig.toml and restarting the server. Some community plugins allow a map vote, but restarting is still necessary.
Does the server consume a lot of bandwidth? Synchronizing physics between players consumes more bandwidth than most multiplayer games. Count about 1 to 2 Mbps per connected player. At OuiHeberg, bandwidth is included and sufficient for standard use.
My server does not appear in the public list. What to do? Check that your AuthKey is valid and correctly entered. Ensure the Private parameter is set to false. Check the logs for any error messages. If the problem persists, regenerate a new key on the Keymaster.
Ready to launch your BeamMP server? Create your BeamNG.drive multiplayer server at OuiHeberg and start driving with your friends in minutes.