
OpenVPN is an open-source VPN software that allows you to create your own private VPN server. With your own VPN, you can:
- 🔒 Secure your connection on public Wi-Fi
- 🕵️ Protect your online privacy
- 🌐 Access your services remotely
- 📍 Have a fixed IP for your projects
This guide uses an automatic installation script that configures everything for you in a few minutes.

Prerequisites
Supported Operating System
| Distribution | Supported Versions |
|---|---|
| Debian | 11 (Bullseye), 12 (Bookworm), 13 (Trixie) ✨ |
| Ubuntu | 22.04 LTS, 24.04 LTS, 25.04, 25.10 |
💡 Recommendation: Use Debian 13 or Ubuntu 24.04 LTS to benefit from the latest security updates.
Minimum Configuration
| Item | Required |
|---|---|
| RAM | Minimum 512 MB |
| CPU | 1 vCPU |
| Storage | 5 GB |
| Port | Open 1194 UDP |
⚠️ Important: Open port 1194/UDP in your hosting provider's firewall (cloud panel) before starting.
OpenVPN Server Installation
Step 1: Connect to the Server
Connect to your VPS via SSH:
ssh root@your-server-ip
Step 2: Update the System
On Debian 13 / Ubuntu 24.04+:
apt update && apt upgrade -y
Step 3: Download and Run the Script
curl -O https://raw.githubusercontent.com/angristan/openvpn-install/master/openvpn-install.sh
chmod +x openvpn-install.sh
./openvpn-install.sh
Step 4: Answer the Questions
The script will ask you a few questions. Here are the recommended answers:
Welcome to the OpenVPN installer!

I need to ask you a few questions before starting setup.
You can leave the default options and just press enter if you are OK with them.

IP address: [Press Enter]
Recommended Answers:
| Question | Answer | Explanation |
|---|---|---|
| IP address | Enter | Auto-detected |
| Public IPv4 or hostname | Enter | Leave default |
| IPv6 support | n | Unless specific need |
| Port | 1194 | Standard OpenVPN port |
| Protocol | 1 (UDP) | Better performance |
| DNS | 1 (Cloudflare) | Fast and reliable |
| Compression | n | Security (avoids VORACLE) |
| Customize encryption | n | Default secure settings |
| Client name | my-pc | Your chosen name |
Step 5: Retrieve the Configuration File
At the end of the installation, the script will display:
Client my-pc added.

The configuration file has been written to /root/my-pc.ovpn
Download the .ovpn file and import it in your OpenVPN client.
Download this file to your computer:
# From your local PC (not the server)
scp root@your-server-ip:/root/my-pc.ovpn ~/Desktop/
Or display it to copy:
cat /root/my-pc.ovpn
Add Other Devices
To create profiles for your other devices (phone, tablet, another PC), rerun the script:
./openvpn-install.sh
Menu displayed:
OpenVPN is already installed.

Select an option:
   1) Add a new client
   2) Revoke an existing client
   3) Remove OpenVPN
   4) Exit
Choose 1 and enter a new name (e.g., iphone, tablet, desktop).
Connecting to the VPN
Windows
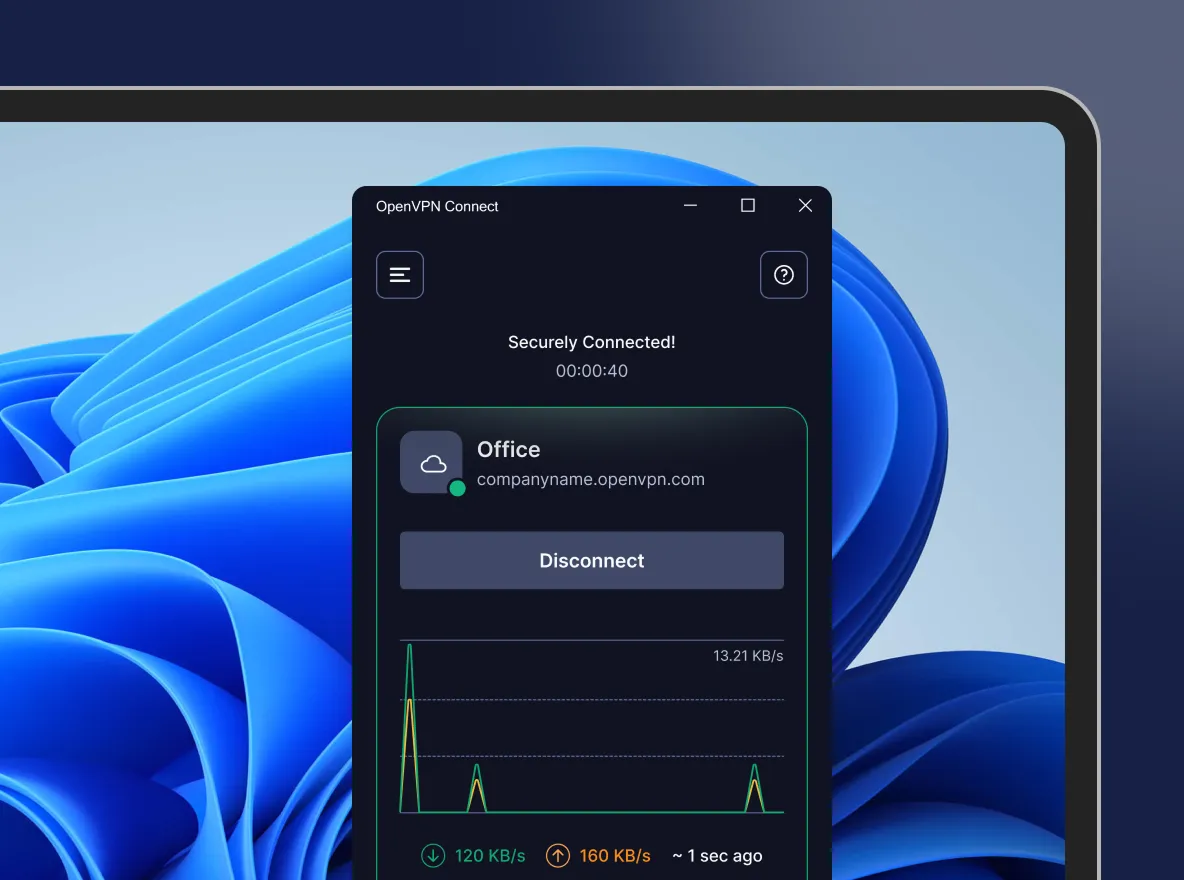
- Download OpenVPN Connect
- Install and open the application
- Drag and drop your
.ovpnfile into the window - Click on CONNECT
macOS
- Download Tunnelblick (free) or OpenVPN Connect
- Double-click on the
.ovpnfile - Click on the icon in the menu bar → Connect
Linux (Debian/Ubuntu)
# Client installation
sudo apt install openvpn

# Connection (keep the terminal open)
sudo openvpn --config my-pc.ovpn
For automatic connection at startup:
sudo cp my-pc.ovpn /etc/openvpn/client/my-pc.conf
sudo systemctl enable openvpn-client@my-pc
sudo systemctl start openvpn-client@my-pc
Android
- Install OpenVPN Connect from the Play Store
- Transfer the
.ovpnfile to your phone - Open it with the application
- Press CONNECT
iOS (iPhone/iPad)
- Install OpenVPN Connect from the App Store
- Send yourself the
.ovpnfile via email, AirDrop, or cloud - Open it with OpenVPN Connect
- Press ADD then CONNECT
Verify It's Working
Once connected to the VPN:
- Go to whatismyip.com
- The displayed IP address should be that of your VPS (not your personal IP)
✅ If this is the case, your VPN is working!
Useful Commands
| Action | Command |
|---|---|
| View server status | systemctl status openvpn-server@server |
| Restart OpenVPN | systemctl restart openvpn-server@server |
| View logs | journalctl -u openvpn-server@server -f |
| Add/Remove a client | ./openvpn-install.sh |
| Uninstall OpenVPN | ./openvpn-install.sh → option 3 |
Quick Troubleshooting
❌ Client Fails to Connect
Checks:
- Is port 1194 UDP open in your hosting provider's firewall?
- Is the service running?
systemctl status openvpn-server@server
- Is the port listening properly?
ss -ulnp | grep 1194
❌ Connected but No Internet
Check IP forwarding:
cat /proc/sys/net/ipv4/ip_forward
If it shows 0, enable it:
echo 1 > /proc/sys/net/ipv4/ip_forward
echo "net.ipv4.ip_forward=1" >> /etc/sysctl.conf
systemctl restart openvpn-server@server
❌ Very Slow Connection
Try reducing the MTU. Add the following to your client-side .ovpn file:
tun-mtu 1400
mssfix 1360
Useful Resources
| Resource | Link |
|---|---|
| OpenVPN Connect (all OS) | openvpn.net/client |
| Tunnelblick (macOS) | tunnelblick.net |
| Official Documentation | openvpn.net/community-resources |
| Installation Script | github.com/angristan/openvpn-install |
Summary
| Step | Action |
|---|---|
| 1 | Connect via SSH to the VPS |
| 2 | Update the system (apt update && apt upgrade -y) |
| 3 | Download and run the installation script |
| 4 | Answer the questions (or keep default values) |
| 5 | Retrieve the generated .ovpn file |
| 6 | Import the file into OpenVPN Connect |
| 7 | Connect! 🎉 |