How to configure LuckPerms on a Minecraft server: the complete guide
Managing permissions on a Minecraft server is a must if you want to maintain a minimum level of control. Giving the OP rank to everyone? Bad idea. Leaving everyone with basic rights? Frustrating for your players. The right solution is a permissions plugin, and LuckPerms is by far the most used and reliable.
In this tutorial, we will see together how to install LuckPerms, understand its logic of groups and inheritance, create your first roles (admin, player…), and assign concrete permissions to your players. All while relying on the LuckPerms web editor, which makes management really simple.
Why LuckPerms instead of something else?
On a Minecraft server, permissions define what each player is allowed to do: which commands they can type, which actions are permitted, and which areas are accessible to them. Without a permissions system, you are stuck between two extremes: either everyone is limited, or you give out the OP rank and lose all control.
LuckPerms solves this neatly. You create groups (player, moderator, admin…), assign them specific permissions, and each player automatically inherits the rights of their group. This is the foundation of a well-organized server, whether it's a small survival game with friends or a more ambitious community project.
LuckPerms exists in plugin version (Paper, Spigot, Bukkit…) and mod version (Forge, NeoForge, Fabric…), making it compatible with almost all types of servers. You can download it from the official LuckPerms page.
Installing LuckPerms on your server
The setup is quick. Depending on your server type, the procedure changes slightly.
In plugin version (Paper, Spigot, Bukkit)
Download the .jar file corresponding to your server version from the official site. Upload it to the plugins folder of your server, then restart.

If you are with OuiHeberg, you can upload the file directly from the file manager of the panel, no need for FTP.
In mod version (Forge, NeoForge, Fabric)
Same principle, but this time you place the .jar file in the mods folder of your server. Make sure to choose the version that corresponds to your modloader to avoid errors at launch.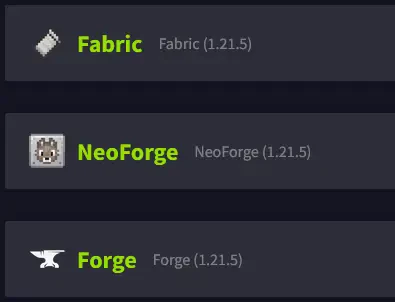
Note: The operation of LuckPerms is almost identical between plugin and mod. The commands and the web editor remain the same, only the installation folder changes.
LuckPerms can also run on a proxy (Velocity, BungeeCord), but that is a more advanced configuration. For this guide, we will stick to a classic installation on the server side.
Check that everything works
After the restart, take a look at your logs. If the installation went well, you should see a line like:
[LuckPerms] Successfully enabled.
From there, you can forget about the OP rank. All rights management will now go through LuckPerms.
Understanding the logic: groups, inheritance, and editor
Before diving into the configuration, you need to understand how LuckPerms organizes things. Don't panic, the logic is simple once you grasp it.
The permission groups
With LuckPerms, you do not manage permissions player by player; you create groups. Each player belongs to a group and automatically inherits all its permissions. By default, LuckPerms creates a default group that applies to everyone.
Then, you create the groups you need: player, moderator, admin… each with its own rights.
Inheritance between groups
This is where LuckPerms becomes really clever. A group can inherit from another. For example, your moderator group can inherit from the player group and simply add moderation permissions on top.
The advantage is huge: if you modify a permission in the base group, all groups that inherit from it are automatically updated. No need to copy everything each time.
The web editor
The real strength of LuckPerms is its online editor. Instead of typing dozens of commands, you manage everything from a clear and intuitive web interface.
To access it, type in your server console or in-game:
/lp editor
LuckPerms displays a link and a code in the console. Open the link in your browser, enter the code, and you arrive at the editor with all your groups and permissions.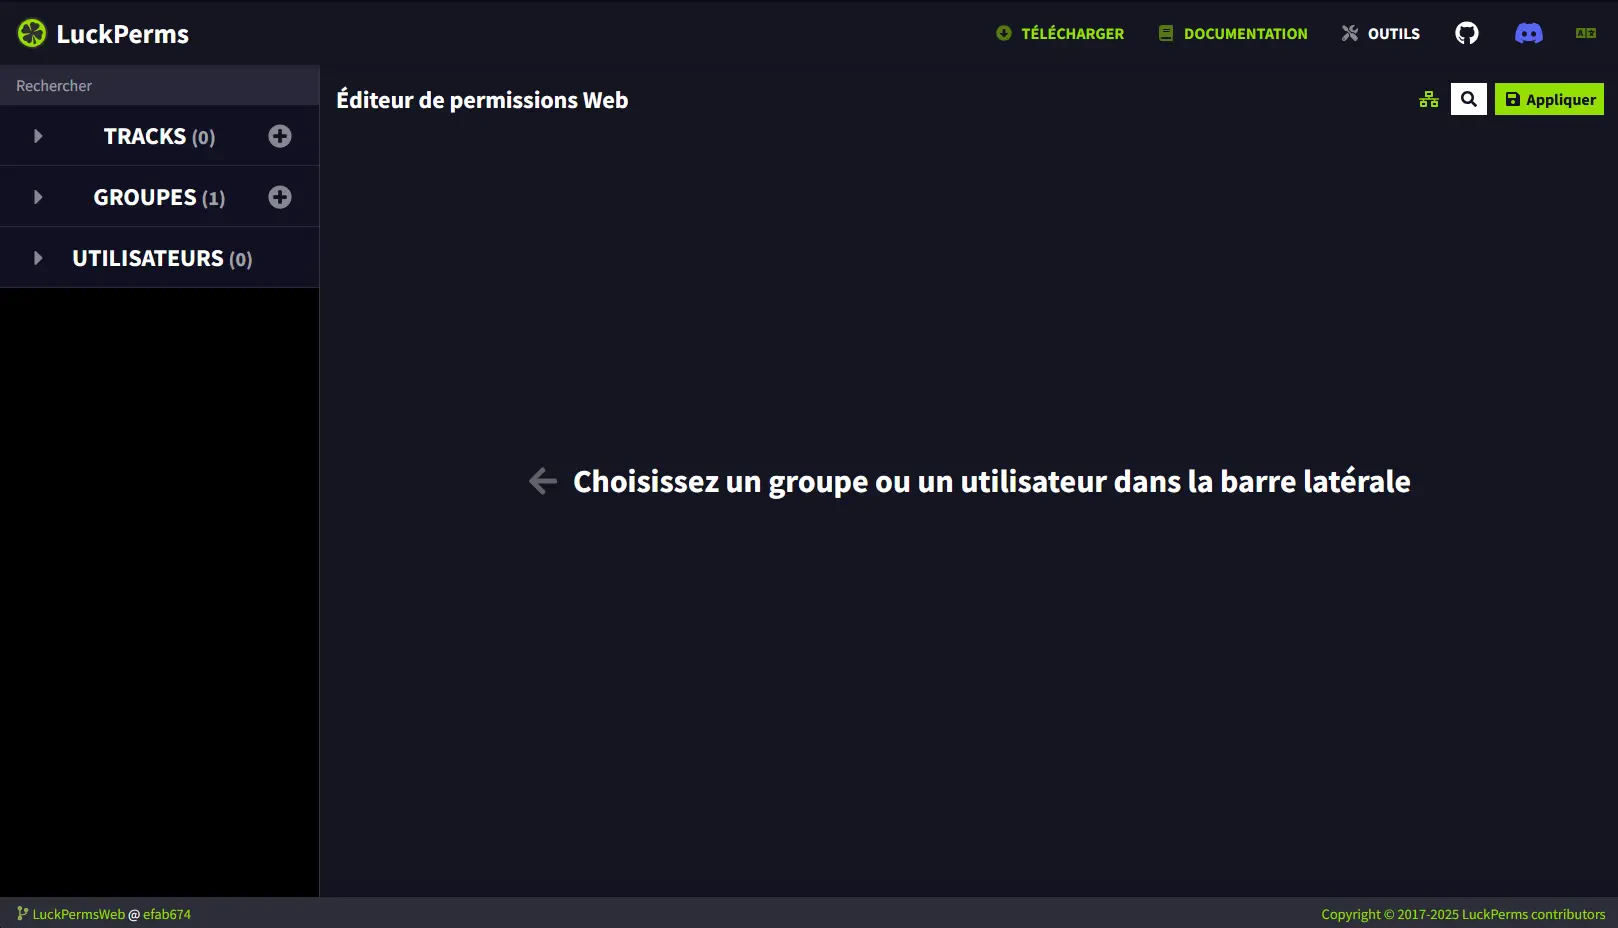
Tip: Keep the editor tab open while you configure. You can make all your changes at once and apply them all at the end.
Creating an Administrator group
We start with the most important group: the one that has all the rights on the server. It will be reserved for you and possibly your trusted admins.
Creating the group
In the web editor, click on the + button in the groups column. Fill in the fields:
- Group name:
admin(internal name) - Display name:
Administrator(readable name) - Parent: leave empty or choose a base group
- Weight: defines the priority compared to other groups (the higher it is, the more priority the group has)
Click on Add a group. Your admin group is created.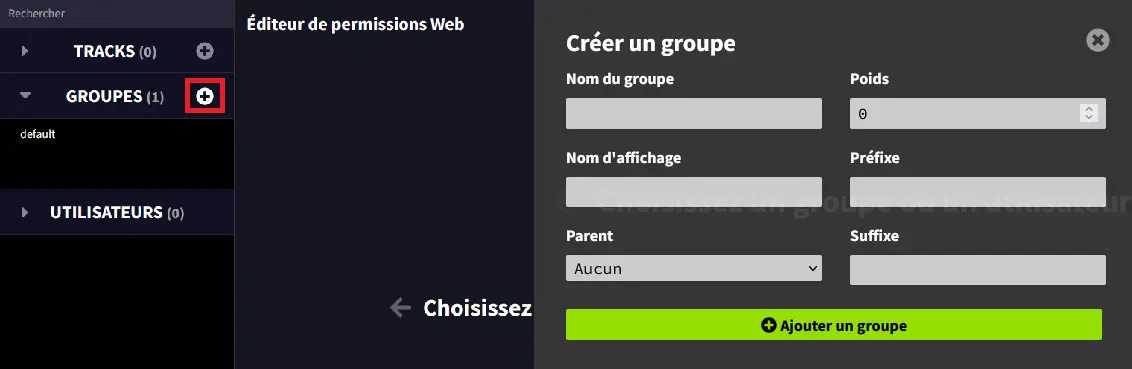
Giving it all permissions
Select the admin group from the list, then in the Add permissions area, simply type:
*
This is called a wildcard. It represents all the permissions available on your server: those of Minecraft, your plugins, your core server… absolutely everything.
Click on Add, then on Apply at the top right to save. The green lines turn gray, which means the changes have been successfully applied to the server.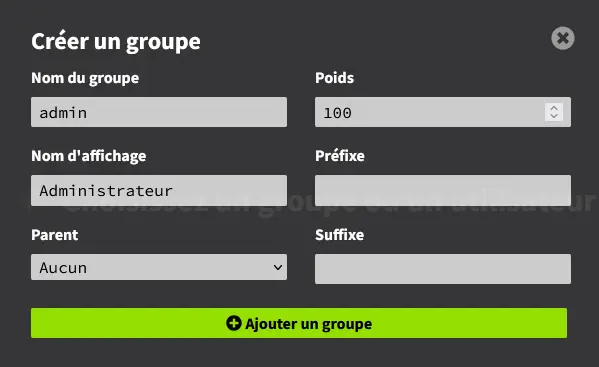
Important: The permission
*grants total access. Only assign it to people you fully trust.
Assigning the group to a player
Make sure you have logged in at least once on the server (LuckPerms needs to know your account). Then, type in the console:
/lp user <username> group add admin
Replace <username> with your Minecraft name. The console will confirm the addition.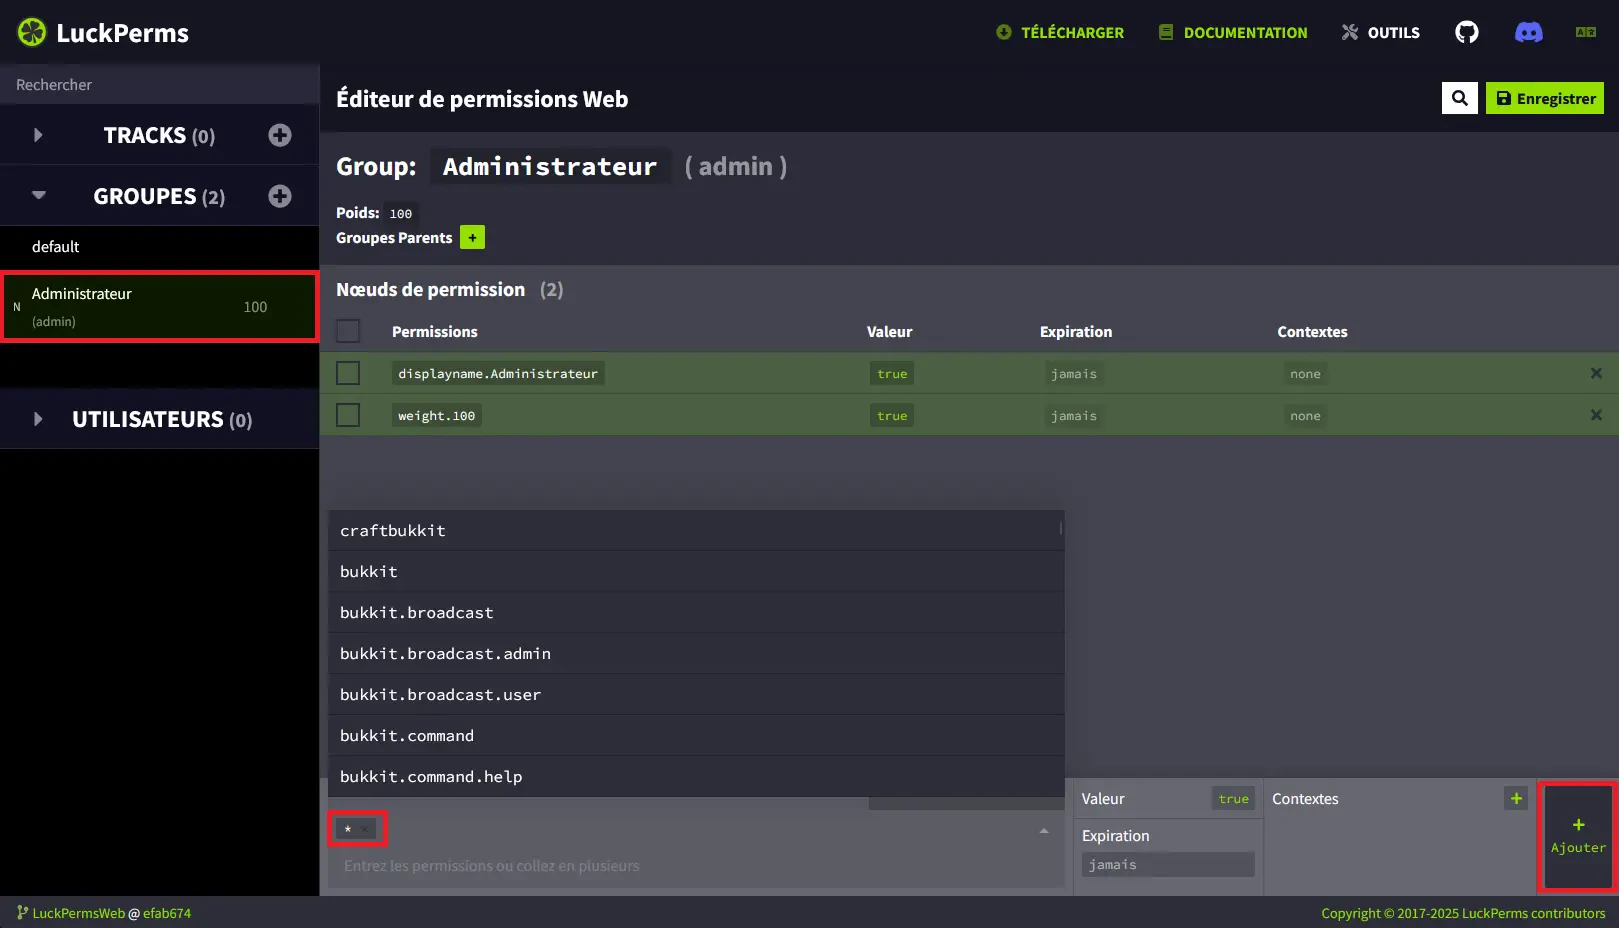
Warning: Limit the number of admins with the permission
*. The more people with total access, the higher the risk of mishandling.
Creating a Player group with useful commands
Let's move on to the group that will actually serve your players on a daily basis. In this example, we assume you have a survival server with the EssentialsX plugin installed. The goal: to allow your players to use /sethome, /home, and teleportation commands (/tpa, /tpaccept…) without giving them the keys to the server.
Creating the group
Return to the LuckPerms editor (/lp editor if needed) and create a new group named player.
Adding home permissions
Select the player group and add the following permissions:
essentials.sethomeessentials.home
Your players will now be able to set a home point and teleport there.
Adding teleportation permissions
For TPs between players, add at least:
essentials.tp.otheressentials.tpaessentials.tpacceptessentials.tpacancel
With this, your players can send teleport requests, accept them, or cancel them. You will find the complete list of EssentialsX permissions in the official plugin documentation.
Tip: Organize your permissions by category (homes, TPs, moderation…) in the editor. This will help you avoid getting lost as your server grows.
Applying and assigning
Click on Apply in the editor, then add your players to the group:
/lp user <username> group add player
Players in this group will have access to /sethome, /home, /tpa, /tpaccept, and /tpacancel, without OP rank, without risk.
Frequently asked questions
Should I remove the OP rank once LuckPerms is installed?
Yes, it is highly recommended. The OP rank gives total access without any fine control. With LuckPerms, you assign an admin group with the permission * to trusted people, and you keep control over everything else. It's cleaner and more secure.
How to find a plugin's permissions?
Almost all plugins list their permissions on their official page or in their documentation. For EssentialsX, the complete list is available in the EssentialsX permissions doc. Just copy the permissions you are interested in into the LuckPerms editor.
Can we manage permissions without the web editor?
Yes, LuckPerms offers a good number of commands in-game. But honestly, the web editor is so much more convenient for visualizing and organizing your groups that it's worth using it systematically. The commands remain useful for quick adjustments without opening the browser.
Does LuckPerms work with BungeeCord or Velocity?
Yes, you can install it on a proxy to centralize permissions across multiple servers. The configuration is more advanced (database, synchronization…), but it is entirely possible. To start, install it directly on your server first before moving to the proxy.
In summary
LuckPerms is the best ally for securing and organizing your Minecraft server. You now know how to install it, create groups with inheritance, assign specific permissions (including those from EssentialsX), and manage everything from the web editor.
Want to set this up on a well-running server? OuiHeberg offers optimized Minecraft hosting plans to launch your server in just a few minutes. And if you get stuck somewhere, the support and Discord community of OuiHeberg are here to help you.
Need a Minecraft server?
Discover our Minecraft hosting plans starting from $9.98/month with automatic mod installation.