
Email Management on cPanel
Manage your professional email addresses directly from your OuiHeberg hosting. This guide covers account creation, email client setup, forwarding, and anti-spam protection.
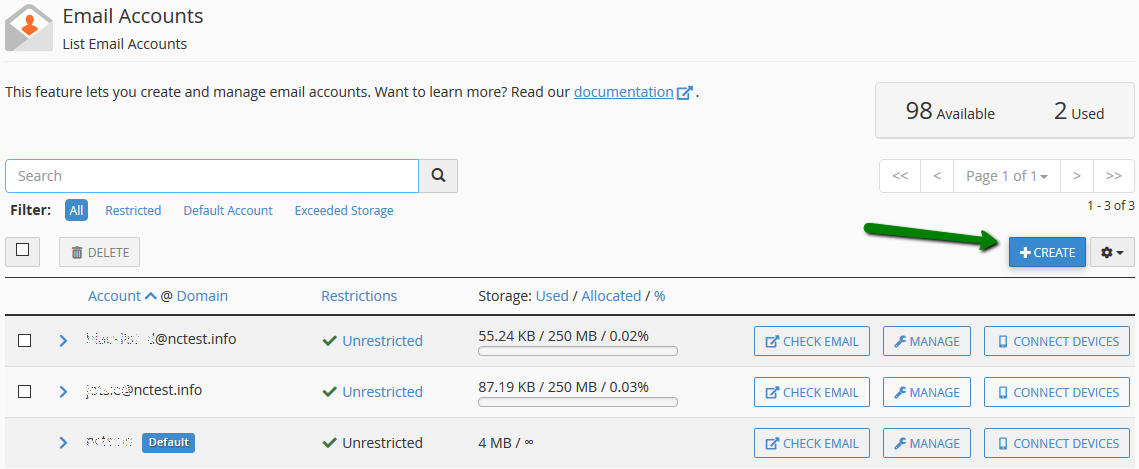
📬 Create an Email Account
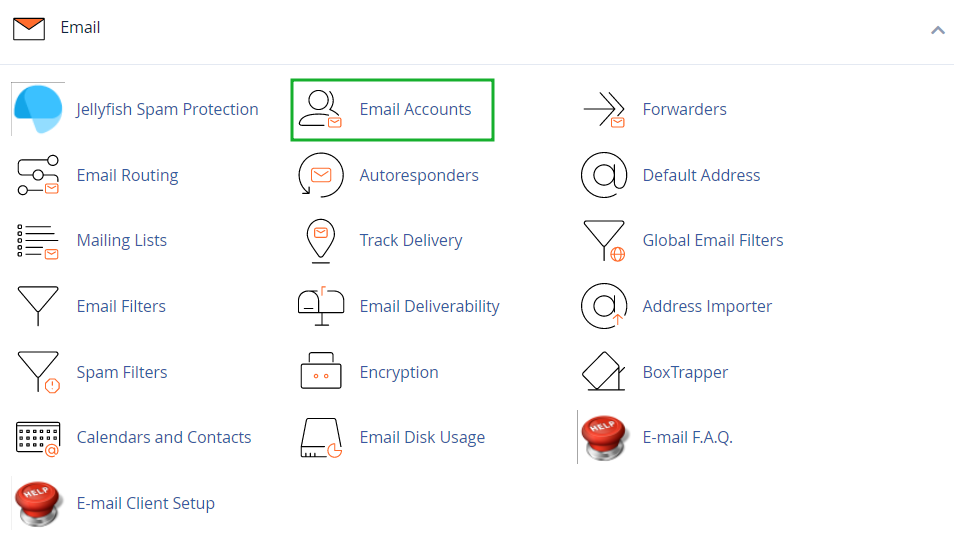
Access email management
- Log in to your cPanel
- In the Email section, click on Email Accounts
Create a new address
- Click on the + Create button
- Set up your account:
| Field | Description |
|---|---|
| Domain | Select the domain (if multiple) |
| Username | Part before the @ (e.g., contact) |
| Password | Minimum 8 characters with uppercase, numbers, and symbols |
| Storage Quota | Allocated disk space (unlimited or value in MB) |
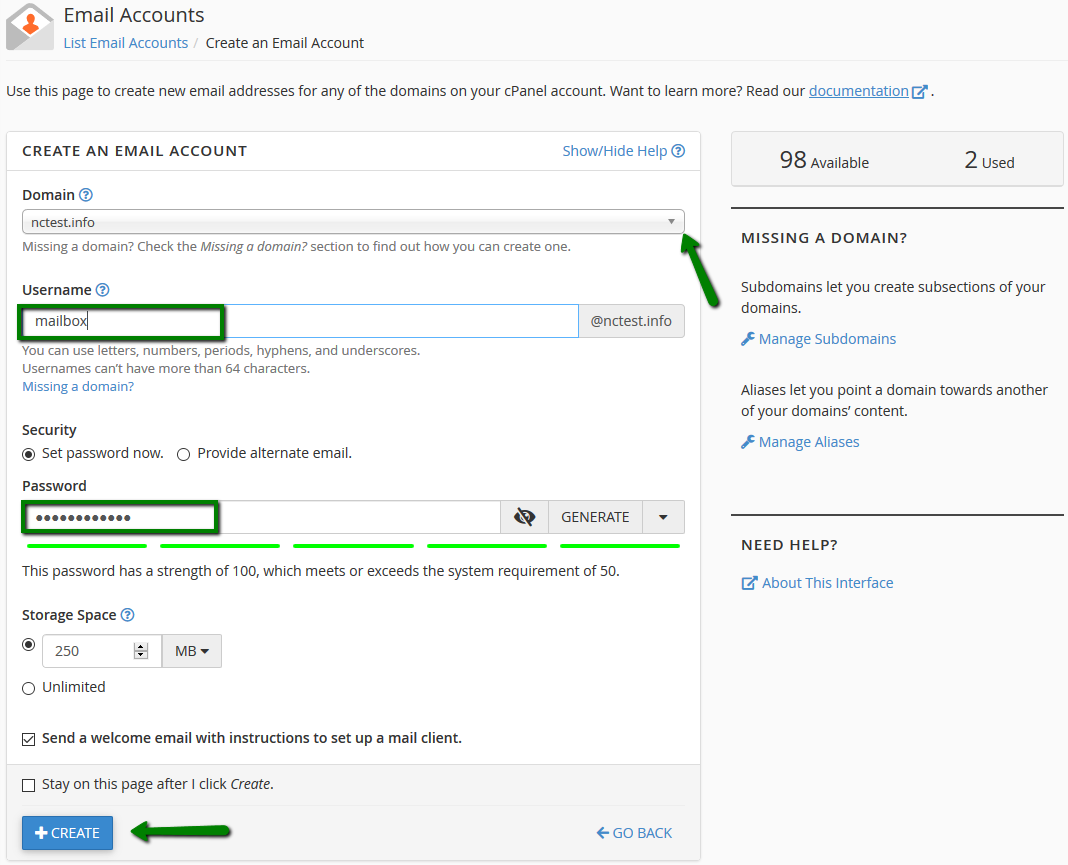
- Click on + Create to finalize
⚠️ Restriction: The username "cpanel" is reserved and cannot be used.
Password Options
Two available methods:
- Set immediately: Enter the password during creation
- Alternate email: System sends a configuration link to another address
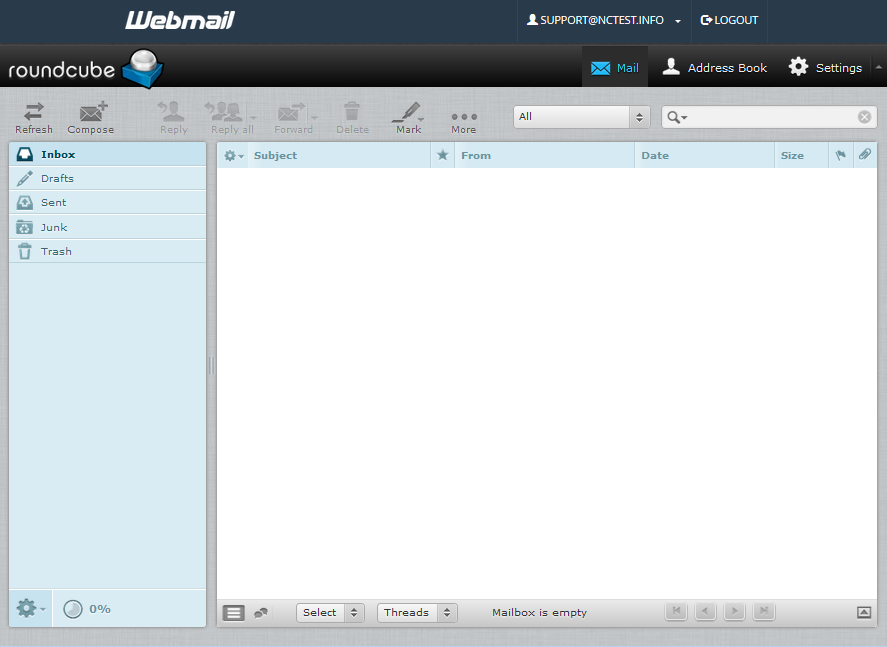
🌐 Access Webmail
Access methods
Multiple ways to access your emails via the browser:
| Method | URL |
|---|---|
| Secure Port | https://yourdomain.com:2096 |
| Subfolder | https://yourdomain.com/webmail |
| Subdomain | http://webmail.yourdomain.com |
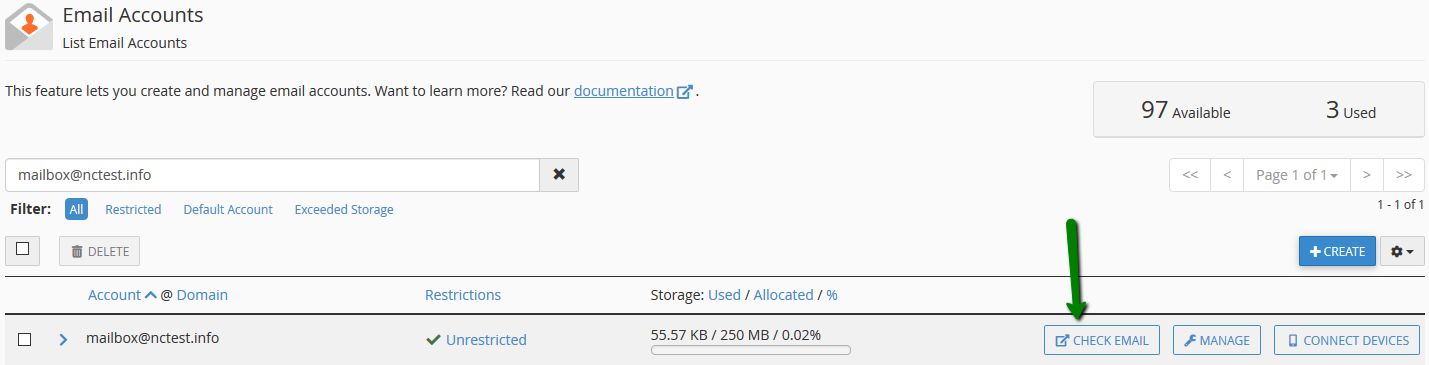
| From cPanel | "Check Email" button next to the account |
Roundcube Interface
Roundcube is the default webmail client, offering:
- Modern and responsive interface
- Folder management (Inbox, Sent, Drafts, Trash, Spam)
- Integrated address book
- Advanced message search
- Customizable message filters
Set Roundcube as default
To directly access Roundcube without going through the selection page:
- In cPanel, go to Email Accounts
- Click on Check Email next to the relevant account
- Check Open my inbox when I log in
- Select Roundcube
- Click Open
💻 Configure an Email Client
Connection settings
Use this information to configure any email client:
Incoming Server (Reception)
| Protocol | Server | SSL/TLS Port | Non-secure Port |
|---|---|---|---|
| IMAP | mail.yourdomain.com | 993 | 143 |
| POP3 | mail.yourdomain.com | 995 | 110 |
Outgoing Server (Sending)
| Protocol | Server | SSL Port | TLS Port |
|---|---|---|---|
| SMTP | mail.yourdomain.com | 465 | 587 |
Credentials
| Field | Value |
|---|---|
| Username | Full email address (e.g., [email protected]) |
| Password | Email account password |
| Authentication | Normal password |
💡 IMAP vs POP3: IMAP syncs emails across all your devices. POP3 downloads emails locally and deletes them from the server (by default).
Configuration on iPhone / iPad
- Go to Settings → Mail → Accounts → Add Account
- Select Other → Add Mail Account
- Enter your information:
- Name: Your name (displayed to recipients)
- Email: [email protected]
- Password: Your email password
- Description: Account name (for you)
- Select IMAP
- Set up servers:
- Incoming Mail Server: mail.yourdomain.com
- Outgoing Mail Server: mail.yourdomain.com
- Enable SSL and use ports 993 (IMAP) and 465 (SMTP)
Configuration on Android
- Open the Email or Gmail app
- Go to Settings → Add Account → Other
- Enter your email address and password
- Select IMAP or POP3
- Set up servers with the above settings
- Enable SSL/TLS for security
Configuration on Outlook
- Open Outlook → File → Add Account
- Enter your email address → Connect
- If automatic setup fails, choose Manual Setup
- Select IMAP or POP
- Enter server settings:
- Incoming Server: mail.yourdomain.com, Port 993, SSL
- Outgoing Server: mail.yourdomain.com, Port 465, SSL
- Enter your password and complete the setup
Configuration on Thunderbird
- Go to File → New → Existing Mail Account
- Enter your name, email address, and password
- Click Continue - Thunderbird attempts automatic detection
- If needed, click Manual Configuration:
- Protocol: IMAP
- Incoming Server: mail.yourdomain.com, Port 993, SSL/TLS
- Outgoing Server: mail.yourdomain.com, Port 465, SSL/TLS
- Authentication: Normal password
- Click Done
🔄 Forwarding and Transfers
Create an email transfer (Forwarder)
Redirect emails from one address to another:
- In cPanel, go to Email → Forwarders
- Click on Add Forwarder
- Set up:
- Address to Forward: source address (part before @)
- Domain: select the domain
- Destination: choose the action
Destination options
| Option | Description |
|---|---|
| Forward to Email Address | Forward to another address |
| Discard and send error | Reject with error message |
| Discard | Silently delete |
| Pipe to a Program | Send to a script |
Full domain transfer
To redirect all emails from one domain to another:
- In Forwarders, click on Add Domain Forwarder
- Select the source domain
- Enter the destination domain
📌 Example: All emails @olddomain.com will be redirected to @newdomain.com
📥 Catch-All Address (Default Address)
The default address captures all emails sent to non-existent addresses on your domain.
Configure the Catch-All
- In cPanel, go to Email → Default Address
- Select the relevant domain
- Choose an option:
| Option | Description | Recommendation |
|---|---|---|
| Discard with error | Reject with notification | ✅ Recommended |
| Forward to | Forward to an address | ⚠️ Spam risk |
| Discard | Silently delete | ⚠️ Lost emails |
| Pipe to program | Send to a script | Advanced |
⚠️ Watch out for spam: Enabling a catch-all can attract a lot of spam. Prefer the "Discard with error" option.
📤 Autoresponders
Set up automatic responses for absences or confirmations.
Create an autoresponder
- In cPanel, go to Email → Autoresponders
- Click on Add Autoresponder
- Set up:
| Field | Description |
|---|---|
| Character Set | UTF-8 (recommended for accents) |
| Interval | Delay between responses to the same sender (hours) |
| Concerned address | |
| From | Sender's name |
| Subject | Automatic message subject |
| Body | Message body (text or HTML) |
| Start/Stop | Start and end dates (optional) |
Example of absence message
Hello,

Thank you for your message. I am currently out of the office
and will not be able to respond until [DATE].

For urgent matters, please contact [ALTERNATE EMAIL].

Best regards,
[Your name]
🔍 Message Filters
Create rules to automatically sort your emails.
Create a filter
- In cPanel, go to Email → Email Filters
- Click on Manage Filters next to the account
- Click on Create a New Filter
- Set up the filter:
Available conditions
| Field | Operators |
|---|---|
| From (Sender) | equals, contains, begins with, ends with, matches regex |
| To (Recipient) | equals, contains, begins with, ends with, matches regex |
| Subject | equals, contains, begins with, ends with, matches regex |
| Body (Body) | contains, matches regex |
| Spam Status | begins with (Yes/No) |
| Header | any header, contains, matches |
Available actions
| Action | Description |
|---|---|
| Discard Message | Delete the message |
| Redirect to email | Forward to an address |
| Fail with message | Reject with error message |
| Stop Processing Rules | Stop other filters |
| Deliver to folder | Move to a folder |
| Pipe to a program | Send to a script |
| 1-2 | Very aggressive (risk of false positives) |
| 3-4 | Aggressive |
| 5 | Balanced (by default) |
| 6-7 | Permissive |
| 8-10 | Very permissive |
Additional Options
| Option | Description |
|---|---|
| Auto-Delete Spam | Delete spam automatically (⚠️ risky) |
| Move Spam to Folder | Move to Spam folder |
| Add Spam Header | Add a header for identification |
Whitelists and Blacklists
Manage allowed or blocked senders:
- In Spam Filters, click on Show Additional Configurations
- Access Edit Spam Whitelist Settings or Edit Spam Blacklist Settings
Entry Formats
# Block a specific sender
[email protected]

# Block an entire domain
*@spamdomain.com

# Block by pattern
spam*@*.com
✅ Email Authentication (Deliverability)
Improve email deliverability by configuring authentication.
Check Deliverability
- In cPanel, go to Email → Email Deliverability
- Check the status of each domain:
- ✅ Valid: Everything is configured correctly
- ⚠️ Problems Exist: Corrections are needed
SPF (Sender Policy Framework)
SPF indicates which servers are allowed to send emails for your domain.
Automatically Repair
If SPF is invalid, click on Repair or Install the suggested record.
Recommended SPF Record
v=spf1 +a +mx +ip4:YOUR_IP ~all
| Element | Meaning |
|---|---|
+a | Allow domain's IP |
+mx | Allow MX servers |
+ip4: | Allow specific IP |
~all | Softfail for others (recommended) |
-all | Hardfail - strict reject |
DKIM (DomainKeys Identified Mail)
DKIM cryptographically signs your emails to prove their authenticity.
Enable DKIM
- In Email Deliverability, check DKIM status
- If disabled, click on Repair to generate the key
- The DNS TXT record is automatically created on
default._domainkey.yourdomain.com
DMARC (Domain-based Message Authentication)
DMARC instructs recipient servers how to handle emails failing SPF/DKIM.
Recommended DMARC Record
Create a TXT record on _dmarc.yourdomain.com:
v=DMARC1; p=none; rua=mailto:[email protected]
DMARC Policies
| Policy | Action |
|---|---|
p=none | Monitoring only (recommended at the beginning) |
p=quarantine | Mark suspicious emails as spam |
p=reject | Reject suspicious emails |
💡 Tips: Start with
p=nonefor monitoring, then gradually move toquarantineand thenreject.
📊 Disk Space Management
View Usage per Account
- In cPanel, go to Email → Email Disk Usage
- View the space used by each account and folder
Modify an Account's Quota
- In Email Accounts, click on Manage next to the account
- Modify Storage Space (or Allocated Storage)
- Set a value in MB or select Unlimited
- Click on Update Email Settings
Clean up Old Emails
- In Email Disk Usage, select an account
- Browse folders to identify the largest ones
- Use webmail to delete unnecessary messages
- Empty the Trash folder
🔧 Email Routing
Configure where emails from your domain are delivered.
Access Routing
- In cPanel, go to Email → Email Routing
- Select the domain to configure
Routing Options
| Option | Description | Use Case |
|---|---|---|
| Automatically Detect | Detection based on MX | Default |
| Local Mail Exchanger | Local delivery only | Emails hosted at OuiHeberg |
| Backup Mail Exchanger | Backup server | Advanced setup |
| Remote Mail Exchanger | External delivery | Google Workspace, Office 365 |
Using an External Service (Google Workspace, Office 365)
To use an external email service:
- Change routing to Remote Mail Exchanger
- Modify MX records in Zone Editor:
Example for Google Workspace:
| Priority | Server |
|---|---|
| 1 | ASPMX.L.GOOGLE.COM |
| 5 | ALT1.ASPMX.L.GOOGLE.COM |
| 5 | ALT2.ASPMX.L.GOOGLE.COM |
| 10 | ALT3.ASPMX.L.GOOGLE.COM |
| 10 | ALT4.ASPMX.L.GOOGLE.COM |
📋 Mailing Lists
Create lists to send emails to multiple recipients.
Create a Mailing List
- In cPanel, go to Email → Mailing Lists
- Click on Add Mailing List
- Configure:
- List Name: list name (ex: newsletter)
- Password: administrator password
- Access: Public or Private
Manage Subscribers
- Click on Manage next to the list
- Use Membership Management to:
- Add members (Mass Subscription)
- Remove members (Mass Removal)
- View the list of subscribers
Special List Addresses
| Address | Function |
|---|---|
[email protected] | Send to all members |
[email protected] | Contact the administrator |
[email protected] | Automated commands (subscribe, unsubscribe) |
[email protected] | Unsubscribe |
📈 Delivery Tracking
Check if your emails have been successfully sent.
Access Logs
- In cPanel, go to Email → Track Delivery
- Use filters to search for:
- By email address
- By period
- By status (Success, Deferred, Failed)
Interpret Results
| Status | Meaning |
|---|---|
| Success ✅ | Email delivered successfully |
| In Progress 🔄 | Sending in progress |
| Deferred ⏳ | Temporarily delayed (automatic retry) |
| Failed ❌ | Delivery failure |
| Rejected 🚫 | Rejected by remote server |
Common Error Codes
| Code | Meaning |
|---|---|
| 550 | Inexistent or blocked inbox |
| 552 | Recipient's quota exceeded |
| 554 | Message rejected (spam, policy) |
| 421 | Service temporarily unavailable |
🔐 Email Account Security
Best Practices
- Strong Passwords: Minimum 12 characters with uppercase, lowercase, numbers, and symbols
- Regularly Change: Change passwords every 3-6 months
- Enable SPF/DKIM/DMARC: Protection against identity spoofing
- Enable SpamAssassin: Anti-spam filtering
- Monitor Logs: Regularly check Track Delivery
Change an Account's Password
- In Email Accounts, click on Manage next to the account
- In the Security section, enter the new password
- Click on Update Email Settings
💡 Tip: Use the built-in password generator to create a strong password.
❓ Troubleshooting
Connection Issues
| Issue | Solution |
|---|---|
| "Authentication failed" | Check full email address and password |
| "Connection refused" | Check server (mail.yourdomain.com) and port |
| "Certificate error" | Enable SSL/TLS and check server name |
| Timeout | Check your internet connection and firewall ports |
Emails Not Received
- Check the Spam/Junk folder
- Monitor the mailbox quota (Email Disk Usage)
- Check Filters that may redirect messages
- Refer to Track Delivery for errors
- Verify Routing (should be Local or Automatically Detect)
Emails Not Sent
- Check SMTP configuration (server, port, SSL)
- Ensure SMTP authentication is enabled
- Verify SPF/DKIM with Email Deliverability
- Refer to Track Delivery for status
- Test with mail-tester.com for diagnostics
Emails Marked as Spam
- Configure SPF, DKIM, and DMARC correctly
- Avoid spam trigger words in the subject
- Maintain a good text/image ratio
- Avoid sending large attachments
- Use a consistent email address matching your domain
🛠️ Useful Tools
| Tool | Description | Link |
|---|---|---|
| MXToolbox | Check MX, SPF, DKIM, blacklists | mxtoolbox.com |
| Mail-tester | Email deliverability test | mail-tester.com |
| DMARC Analyzer | DMARC reports analysis | dmarcanalyzer.com |