Connecting to a Windows VPS might seem complicated, but with the right steps, it becomes a simple and fast process. Whether you're an IT professional or a beginner, this guide will provide you with all the necessary information to establish a connection to your Windows virtual private server. We’ll cover the different connection methods, prerequisites, and tips to optimize your experience.
Connection Prerequisites
Before you begin, it's essential to make sure you have the following information and tools:
Required Information
- VPS IP Address: This information is provided by your hosting provider when your server is created.
- Username: Typically, the default username is "Administrator".
- Password: This password is also provided during your VPS setup.
Required Tools
- For Windows: Use the "Remote Desktop Connection" (RDP) application.
- For Mac: Download the "Microsoft Remote Desktop" app from the App Store.
- For Linux: Use an RDP client like Remmina.
Connecting from a Windows Computer
Step 1: Open the RDP Application
- Press
Win + Rto open the "Run" dialog box. - Type
mstscand press Enter.

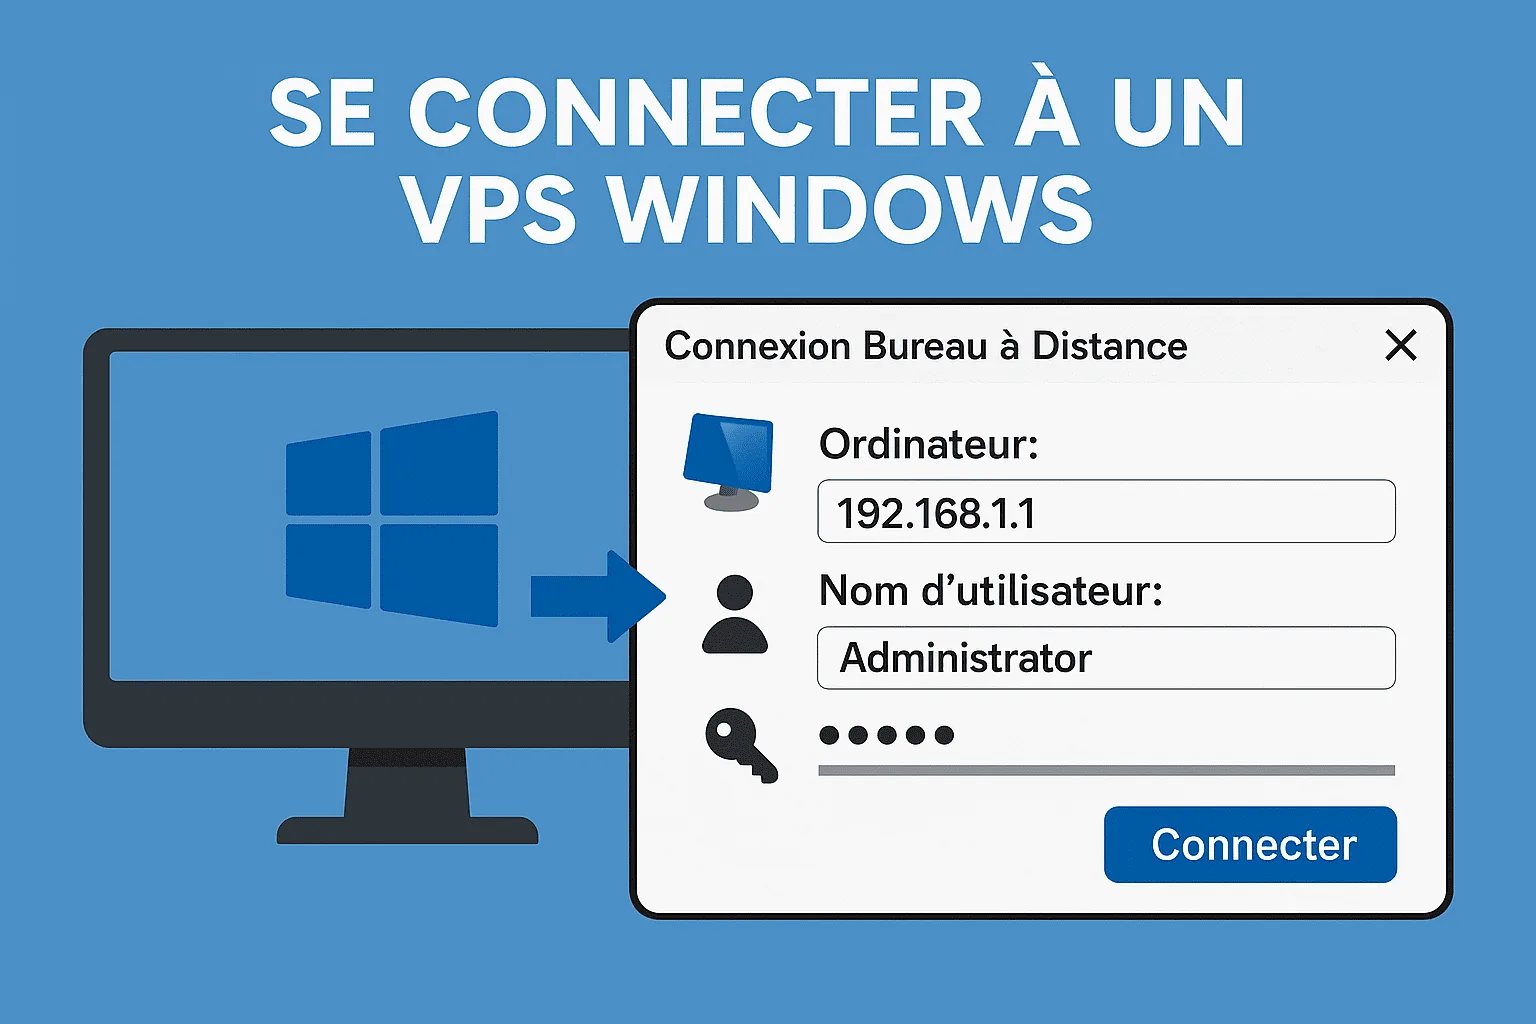
Step 2: Enter VPS Information
- In the "Computer" field, enter your VPS IP address.
- Click on "Show Options" to access advanced settings.
- In the "Username" field, enter "Administrator" or another authorized user.
Step 3: Establish the Connection
- Click on "Connect".
- A window will appear asking for the password. Enter it and confirm.
- If a certificate warning appears, accept it to continue.
Step 4: Access the VPS Desktop
Once connected, your Windows server desktop will appear, allowing you to access all VPS features.
Connecting from a Mac
Step 1: Install Microsoft Remote Desktop
- Download the "Microsoft Remote Desktop" app from the App Store.
Step 2: Set Up the Connection
- Open the app and click "Add PC".
- In the "PC name" field, enter your server’s IP address.
- Under "User account", select "Administrator" and add your credentials.
Step 3: Establish the Connection
- Double-click the server you just added.
- Enter your password when prompted and click "Continue".
Connecting from a Linux Computer
Step 1: Install Remmina
If Remmina is not already installed, you can download it via your package manager.
Step 2: Configure Remmina
- Open Remmina.
- In the "RDP" field, enter your VPS IP address.
- Enter your username and password.
Step 3: Establish the Connection
- Click "OK" to connect to your VPS.
Troubleshooting Common Issues
Connection Issues
If you’re unable to connect, check the following:
- IP Address: Make sure the entered IP address is correct.
- Firewall: Check that the Windows firewall allows RDP connections.
- Credentials: Ensure the username and password are correct.
Server Reinstallation
If issues persist, consider reinstalling your server from your client area. This may resolve configuration problems.
Tips for a Secure Connection
Use a Strong Password
Make sure your password is complex and hard to guess. This strengthens your VPS security.
Enable Two-Factor Authentication
If your hosting provider allows it, enable two-factor authentication for added security.
Keep the System Updated
Ensure your Windows Server OS is always up to date with the latest security patches.
Advantages of a Windows VPS
Flexibility
A Windows VPS allows you to customize your environment to your specific needs, whether for web applications, games, or mail servers.
Performance
With dedicated resources, a Windows VPS offers optimal performance for running demanding applications.
Technical Support
Most VPS providers offer 24/7 technical support, which is essential for resolving issues quickly.
Conclusion
Connecting to a Windows VPS is a process accessible to everyone, as long as you follow the right steps. Whether you're using Windows, Mac, or Linux, you can easily establish a connection to your server. By following the security tips and troubleshooting common problems, you'll fully enjoy your Windows VPS. Don’t hesitate to explore its features and customize the server according to your needs.