
How to Create and Manage a MySQL Database
Estimated Time: 5 minutes
Difficulty: Beginner ⭐
📋 Introduction
A MySQL database allows your server to store information permanently: player data, statistics, plugin configurations, etc.
Common use cases:
| Server Type | Usage |
|---|---|
| 🎮 Minecraft | LuckPerms, Essentials, CoreProtect, AuthMe, economy |
| 🚗 FiveM | Framework (ESX, QBCore), inventories, garages, jobs |
| 🤖 Discord Bot | User data storage, configurations |
| 🌐 Node.js / Python | Web applications, APIs, application data |
🚀 Creating a Database
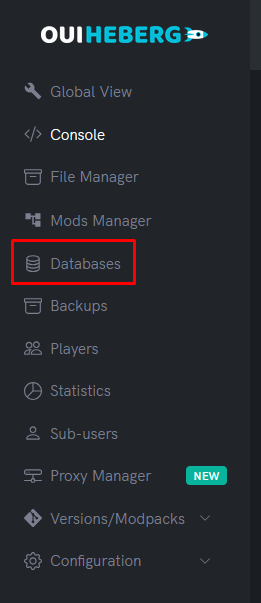
Step 1: Access the Databases section
- Login to OuiPanel
- Select your server from the list
- In the side menu, click on Databases
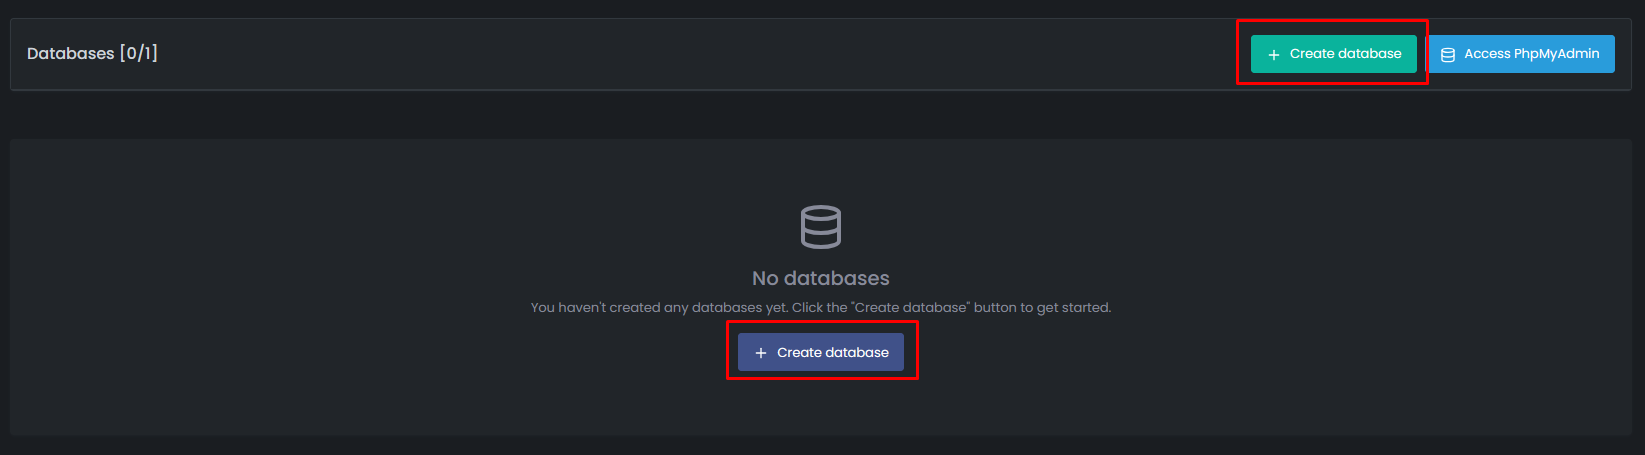
Step 2: Create a new database
- Click on the New database button
- Fill out the form:
- Database name: Provide a clear name (e.g.,
luckperms,esx,coreprotect)
- Database name: Provide a clear name (e.g.,
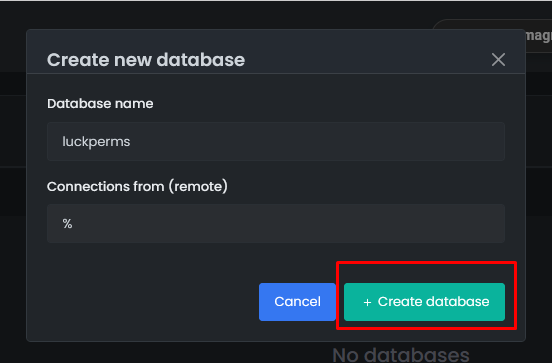
- Click Create to confirm
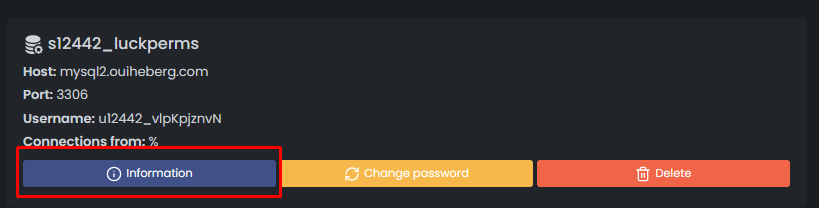
Step 3: Retrieve connection information
Once the database is created, you will see the connection information:
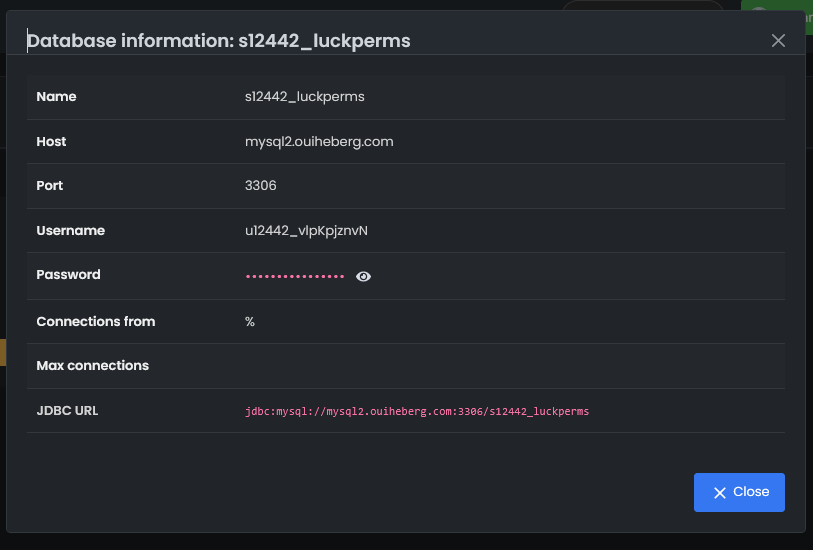
| Information | Description | Example |
|---|---|---|
| Host | MySQL server address | mysql-xxx.ouiheberg.com |
| Port | Connection port | 3306 |
| Database name | Your database name | s123_luckperms |
| User | Login ID | u123_abc123 |
| Password | Password (click to display) | •••••••• |
| JDBC URL | Java connection string | jdbc:mysql://... |
💡 Tip: Click on the copy icon next to each field to quickly copy the value.
⚙️ Using the Database
Example for Minecraft (LuckPerms)
In the file plugins/LuckPerms/config.yml:
storage-method: MySQL

data:
  address: mysql-xxx.ouiheberg.com:3306
  database: s123_luckperms
  username: u123_abc123
  password: 'your_password'
Example for FiveM (server.cfg)
set mysql_connection_string "mysql://u123_abc123:[email protected]:3306/s123_esx"
💡 FiveM Tip: In OuiPanel, go to FiveM Configuration to automatically insert the MySQL connection string.
Example for Node.js
const mysql = require('mysql2');

const connection = mysql.createConnection({
  host: 'mysql-xxx.ouiheberg.com',
  port: 3306,
  user: 'u123_abc123',
  password: 'your_password',
  database: 's123_yourapp'
});
Example for Python
import mysql.connector

connection = mysql.connector.connect(
  host="mysql-xxx.ouiheberg.com",
  port=3306,
  user="u123_abc123",
  password="your_password",
  database="s123_yourapp"
)
🔧 Managing Your Databases
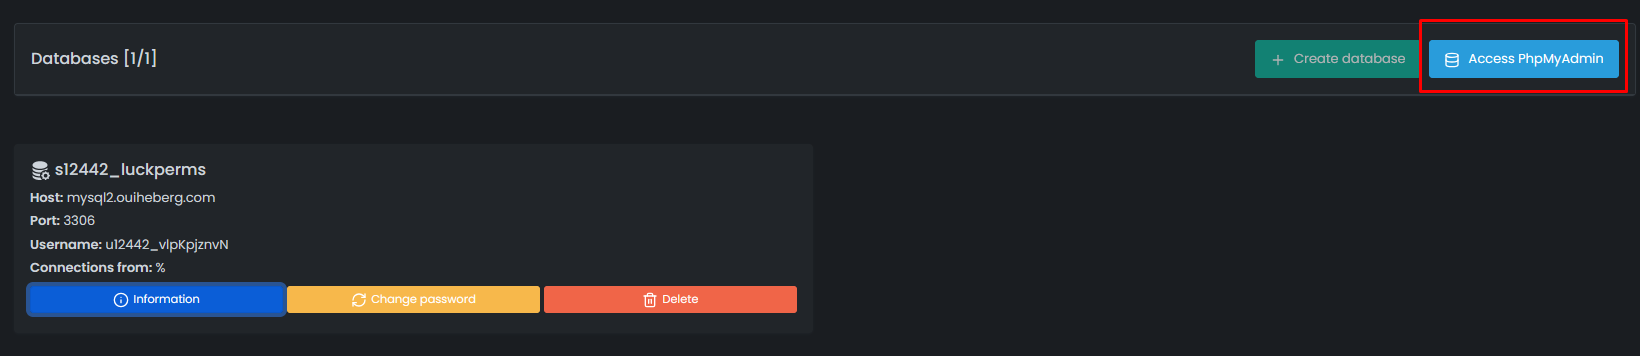
Access PhpMyAdmin
PhpMyAdmin is a web interface to view and modify your database content.
- In the Databases section, locate your database
- Click on the PhpMyAdmin button
- You are automatically logged into the PhpMyAdmin interface. If not, please use the login credentials of the database created just now (information available in the information tab).
Make sure you have selected the correct SQL server. In our case, it is MYSQL server 2 because the server host/address is mysql2.ouiheberg.com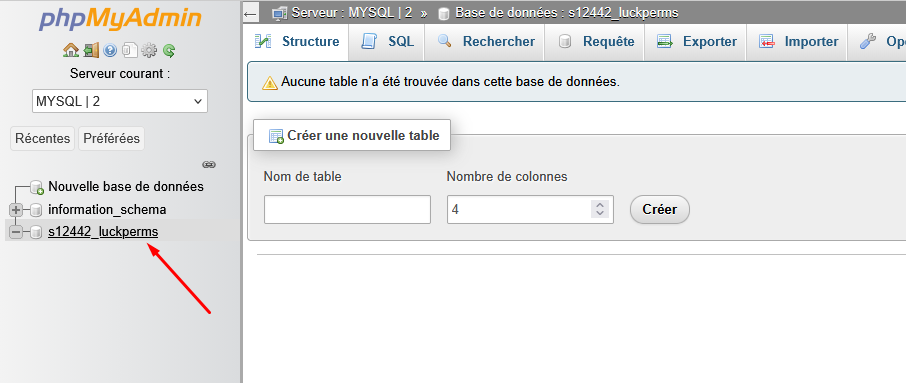
With PhpMyAdmin you can:
- 📊 View tables and their data
- ✏️ Modify records
- 🗑️ Delete data
- 📥 Import a database (file
.sql) - 📤 Export a backup
- ⚡ Execute SQL queries
Change the password
If you want to regenerate the password for your database:
- In the Databases section, locate your database
- Click on the Rotate password button (circular arrow icon)
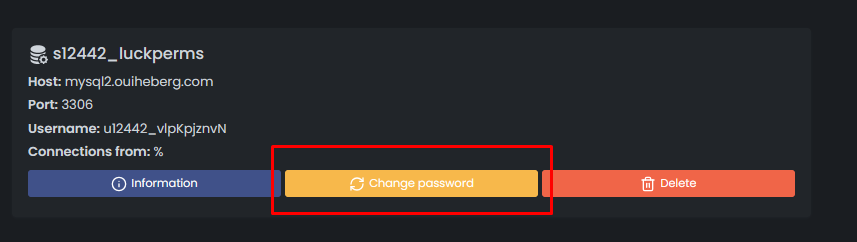
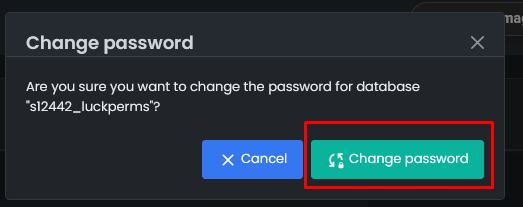
- Confirm the action
- A new password is generated automatically
⚠️ Attention: Remember to update the password in your plugins/scripts configuration after a rotation!
Delete a database
- In the Databases section, locate the database to delete
- Click on the Delete button (trash can icon)
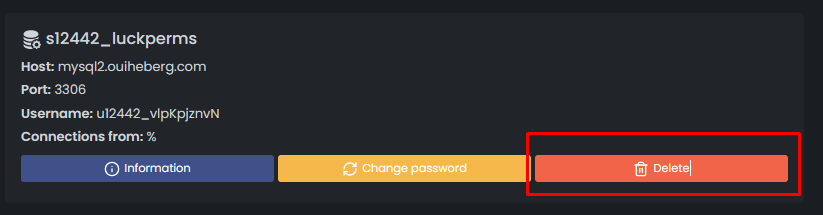
- Confirm the deletion
⚠️ Attention: This action is irreversible. All data will be permanently lost. Remember to export your data via PhpMyAdmin before deleting.
🔧 Troubleshooting
Database Connection Error
| ❌ Issue | ✅ Solution |
|---|---|
Access denied | Check the username and password |
Unknown database | Check the database name |
Can't connect to MySQL server | Check the host and port |
Connection refused | Make sure the server is started |
The plugin is not connecting
- Check each information: host, port, database name, user, password
- Watch out for special characters: if the password contains special characters (
@,#, etc.), surround it with single quotes in the configuration files - Test with PhpMyAdmin: if PhpMyAdmin works, the credentials are correct
- Restart the server after modifying the configuration
📝 Summary
1. Access "Databases" in the side menu
2. Click on "New database"
3. Name the database and validate
4. Copy the connection information (host, port, user, password)
5. Configure your plugin/application with this information
6. Restart the server