
 Client area
Your web hosting is managed from its page in the client area at dash.ouiheberg.com. Mailboxes, databases, FTP accounts, PHP version and backups can all be handled there without opening cPanel. For everything else, the Advanced panel button logs you into cPanel. This guide walks through the page tab by tab.
Open your hosting page
Log in to dash.ouiheberg.com.
In the left-hand menu, click My Services, then your hosting plan.
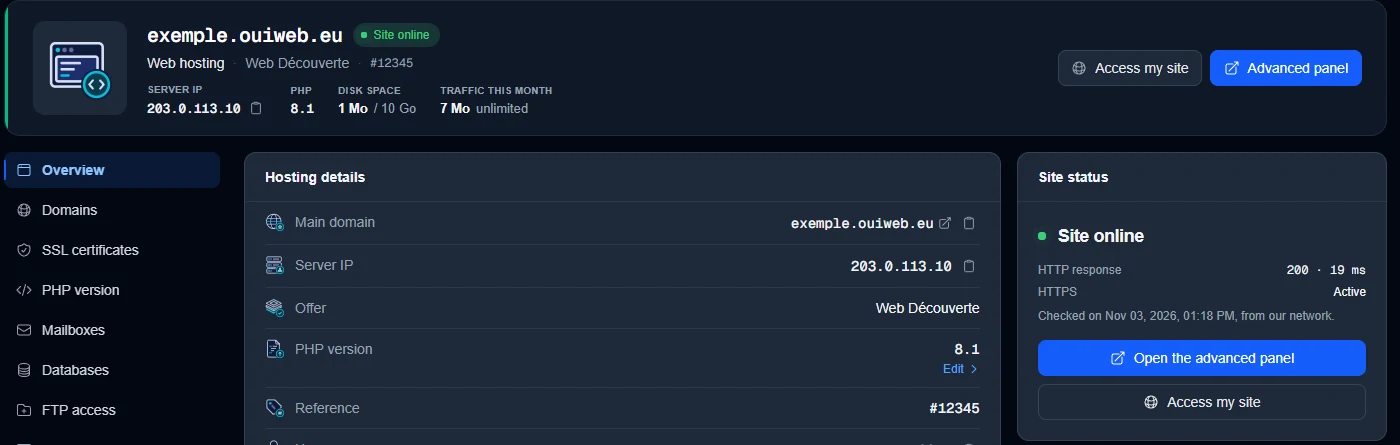
The banner at the top shows the domain, the server IP address, the PHP version and the disk space used. On the left, a menu leads to the Overview, Domains, SSL certificates, PHP version, Mailboxes, Databases, FTP access, Backups, Space and quotas and DNS zone tabs.
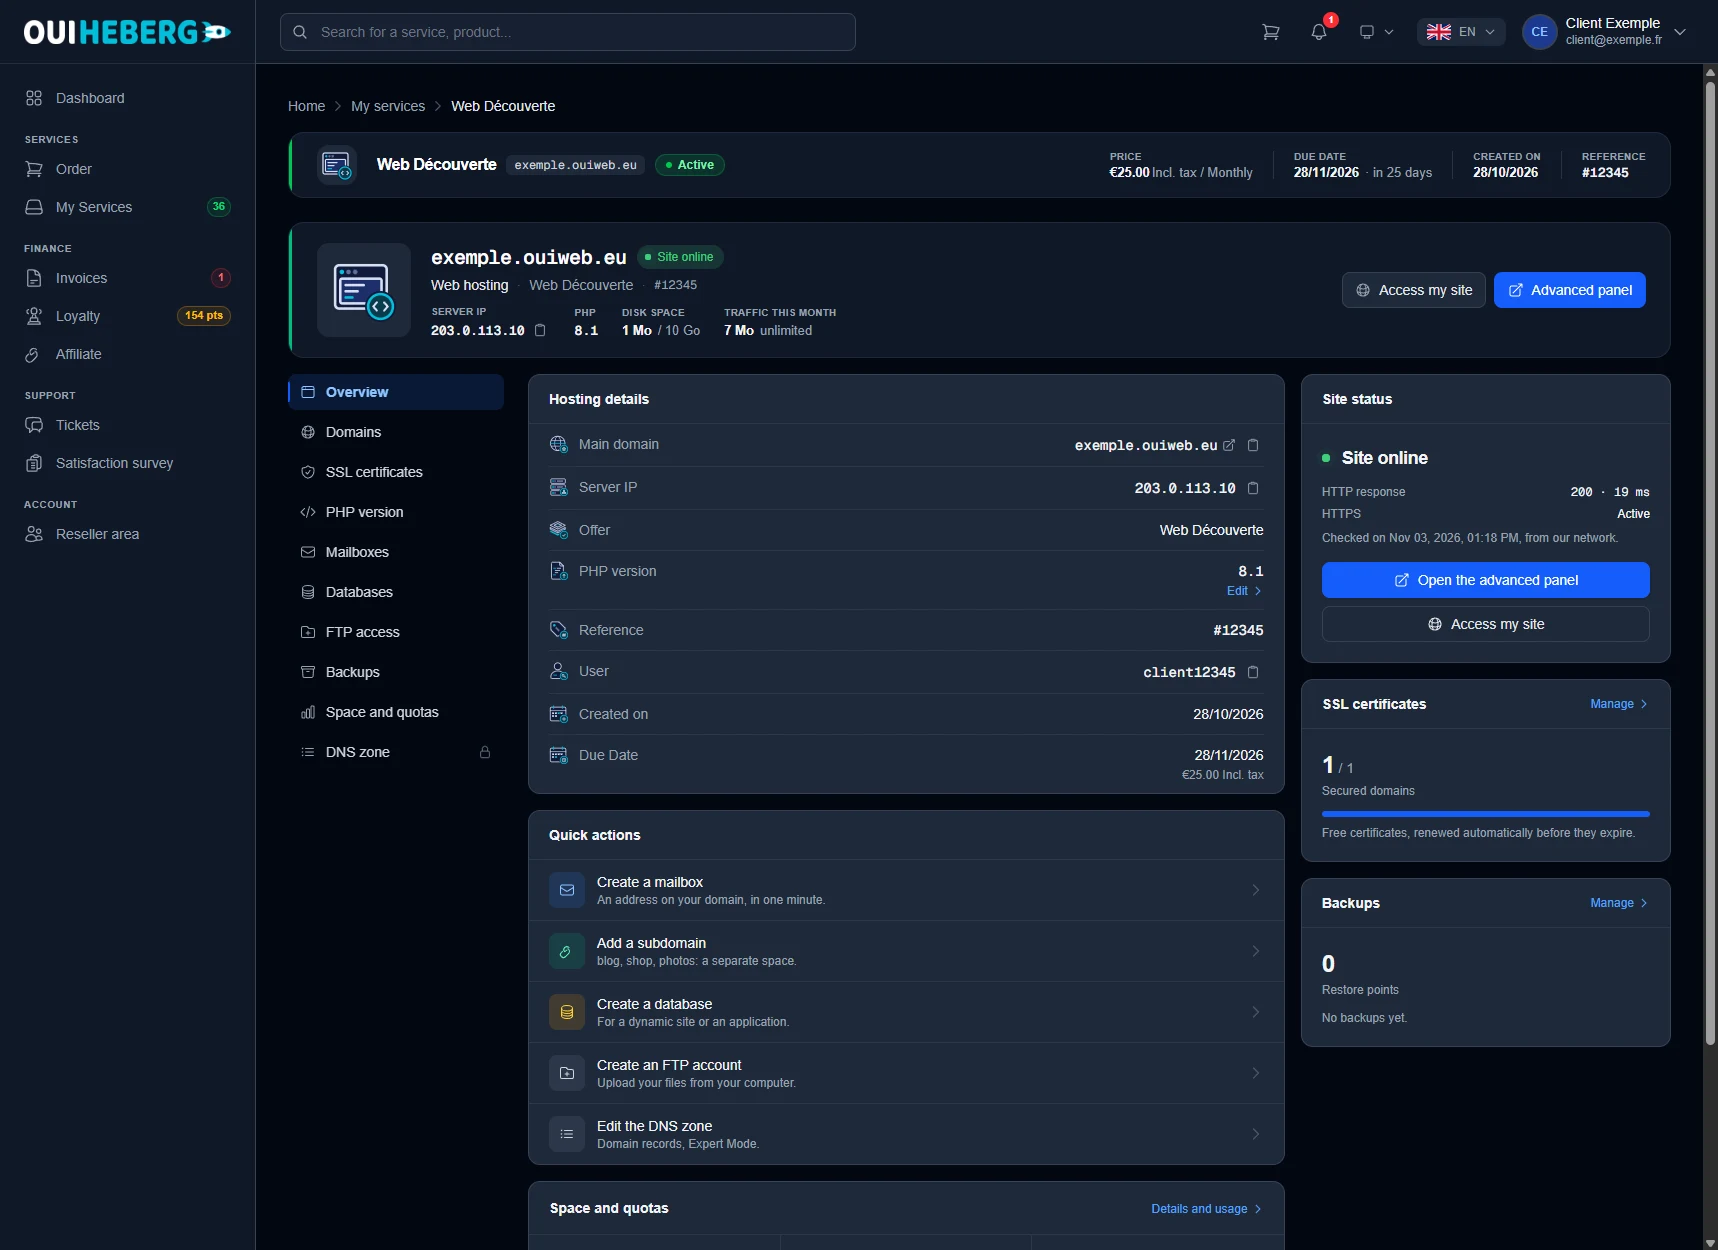
The Overview tab opens first.
The Hosting details card lists the main domain, the server IP, the plan, the PHP version (with an Edit link), the username and the renewal date.
Quick actions are shortcuts to create a mailbox, a subdomain, a database or an FTP account, and to edit the DNS zone.
The Site status card tells you whether your site responds, with the HTTP response code and the HTTPS status.
The SSL certificates card counts your secured domains. It states that the certificates are free and renewed automatically before they expire.
Open cPanel with the "Advanced panel" button
For anything the page does not offer, use cPanel. Click Advanced panel at the top right of the page, or Open the advanced panel in the Site status card. cPanel opens straight away, with no login details to type.
💡 The main cPanel password cannot be changed from the client area. Change it inside the advanced panel.
New to cPanel? Read our guide First steps on cPanel.
Create and set up mailboxes
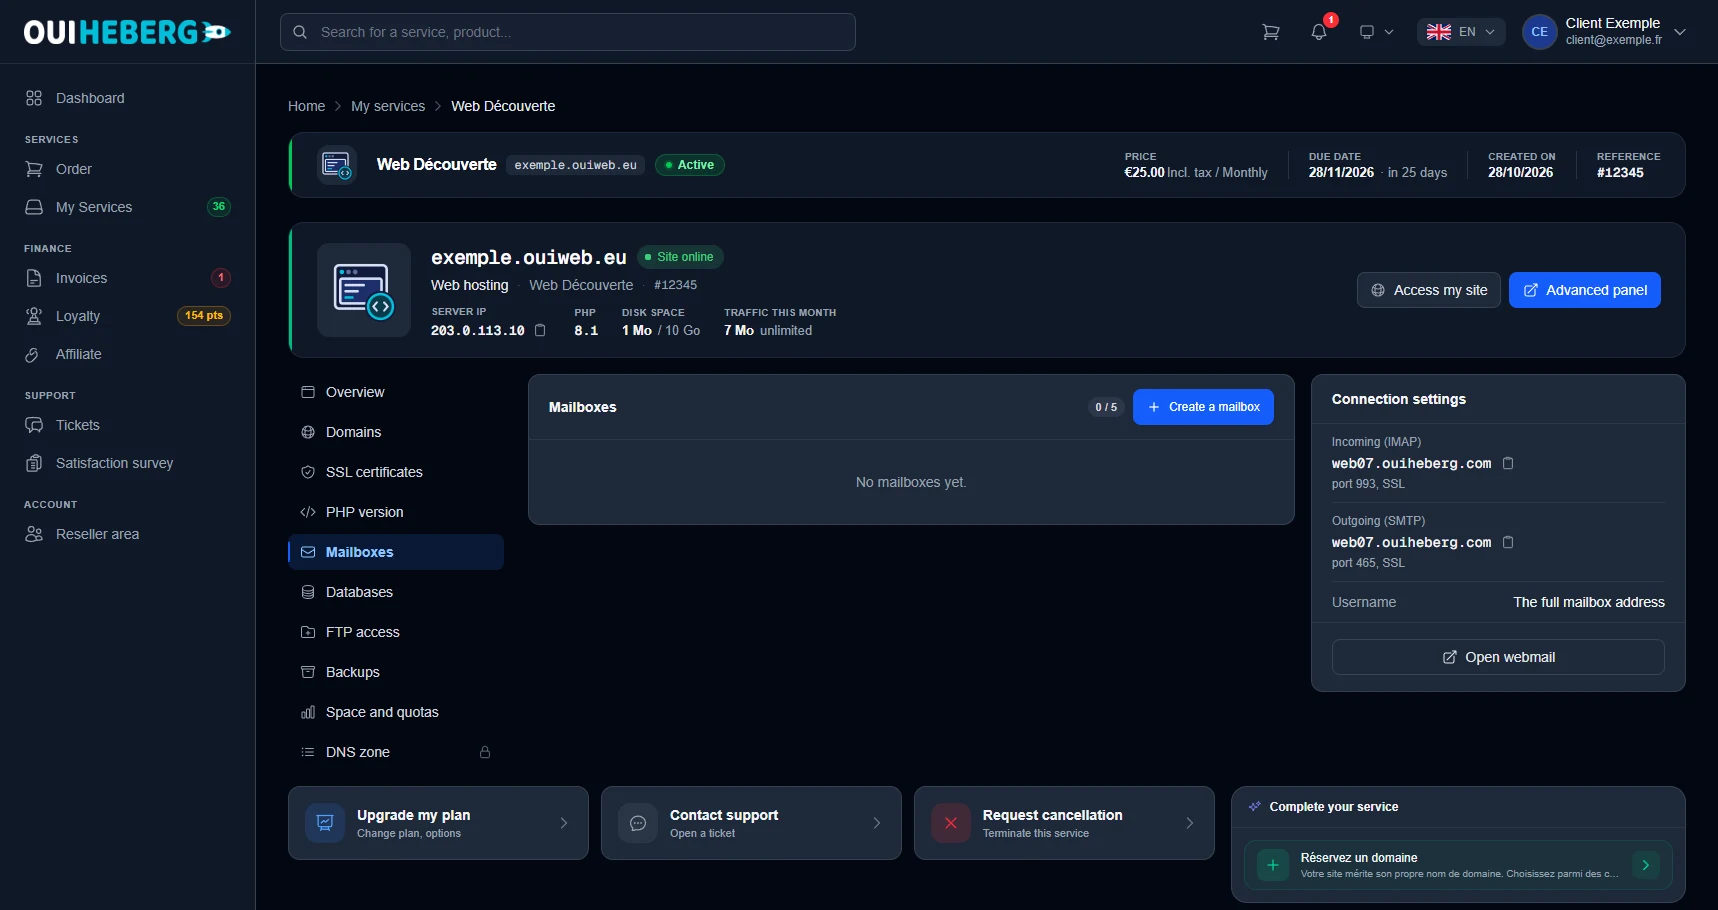
The Mailboxes tab lists your email addresses. The counter at the top of the card shows how many mailboxes you use out of the number included in your plan. To add one, click Create a mailbox and fill in the form.
To set up an email client (Outlook, Thunderbird, your phone's Mail app…), copy the values from the Connection settings card.
| Setting | Value |
|---|---|
| Incoming (IMAP) | the server shown in the card, port 993, SSL |
| Outgoing (SMTP) | the server shown in the card, port 465, SSL |
| Username | the full mailbox address |
The Open webmail button lets you read your mail in the browser.
Manage databases
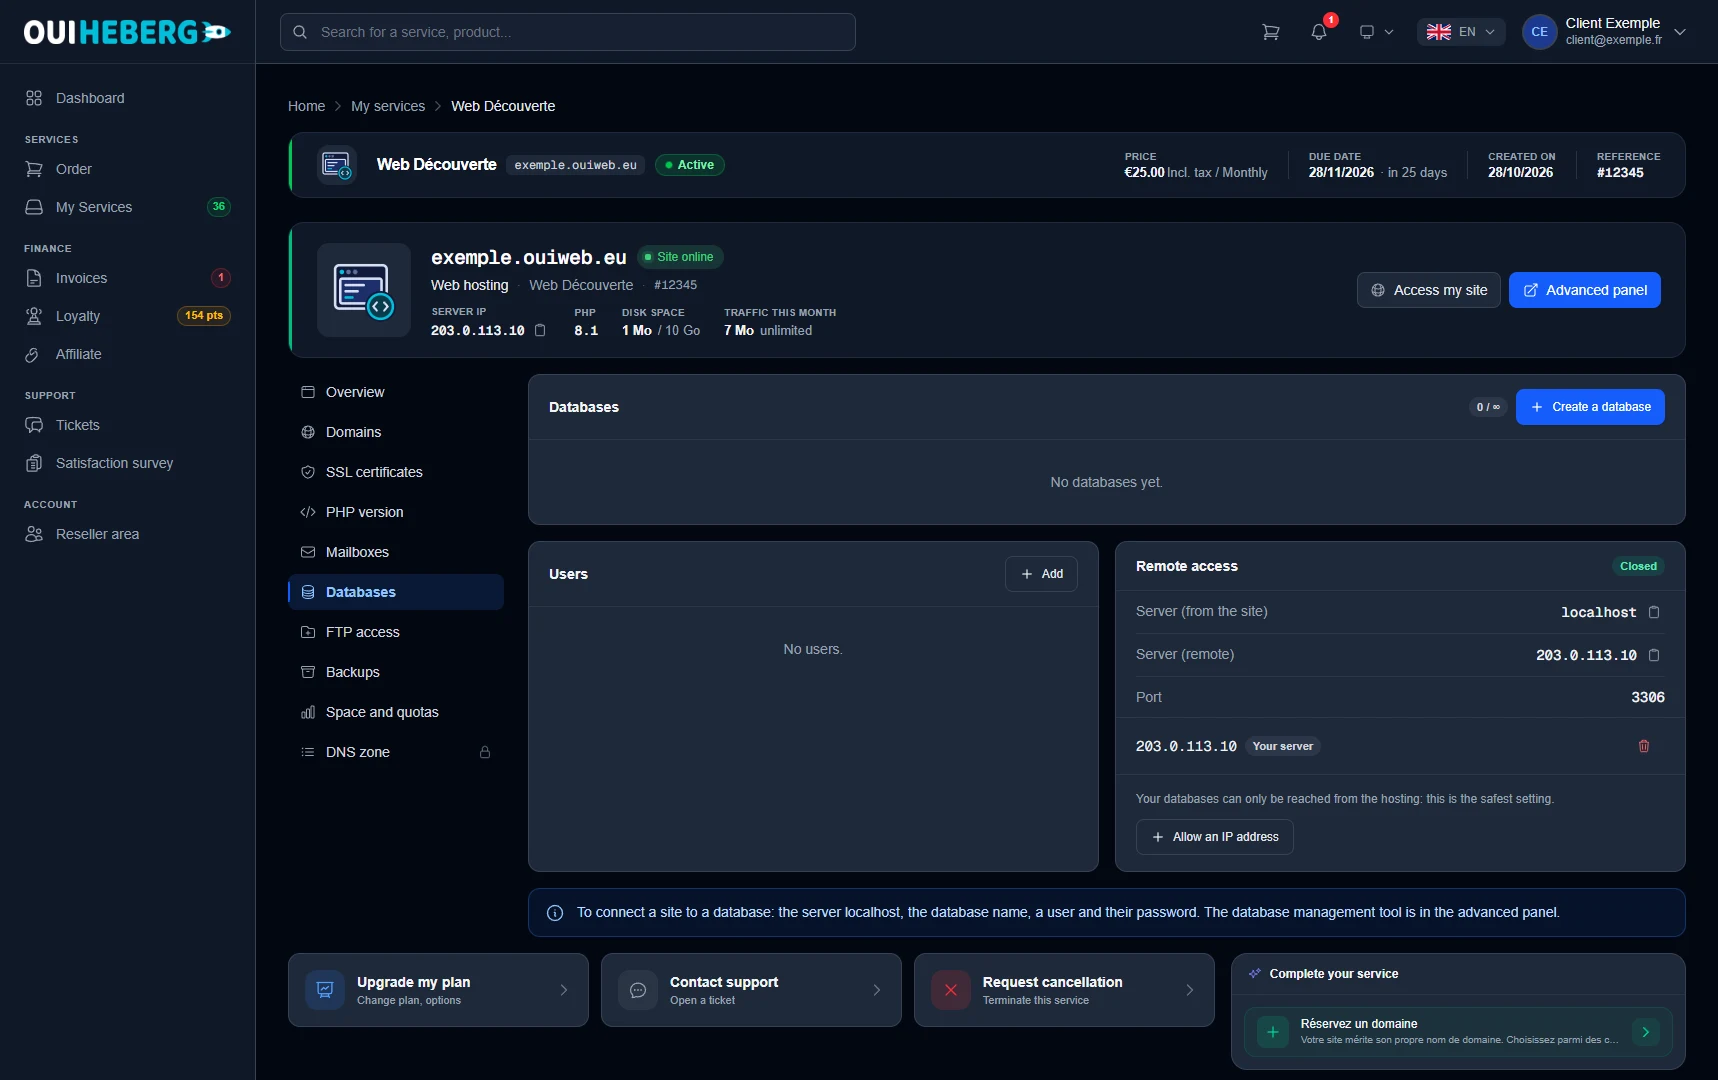
In the Databases tab, the Create a database button adds a database. The Users card and its Add button create the users that connect to it.
To connect a site (WordPress, for example) to its database, you need four details. The server localhost, the database name, the user and that user's password.
💡 If you change a user's password, update it in your site's configuration as well. Otherwise the site will no longer reach its database.
Connect to a database from outside
When the Remote access card shows Closed, your databases can only be reached from the hosting itself. This is the safest setting.
To connect from your own computer, click Allow an IP address and add your address. Then use the Server (remote) address and port 3306. Remove the address as soon as you no longer need it.
The database administration tool is in the advanced panel. Our guide Manage MySQL databases on cPanel explains how to use it.
Manage FTP accounts
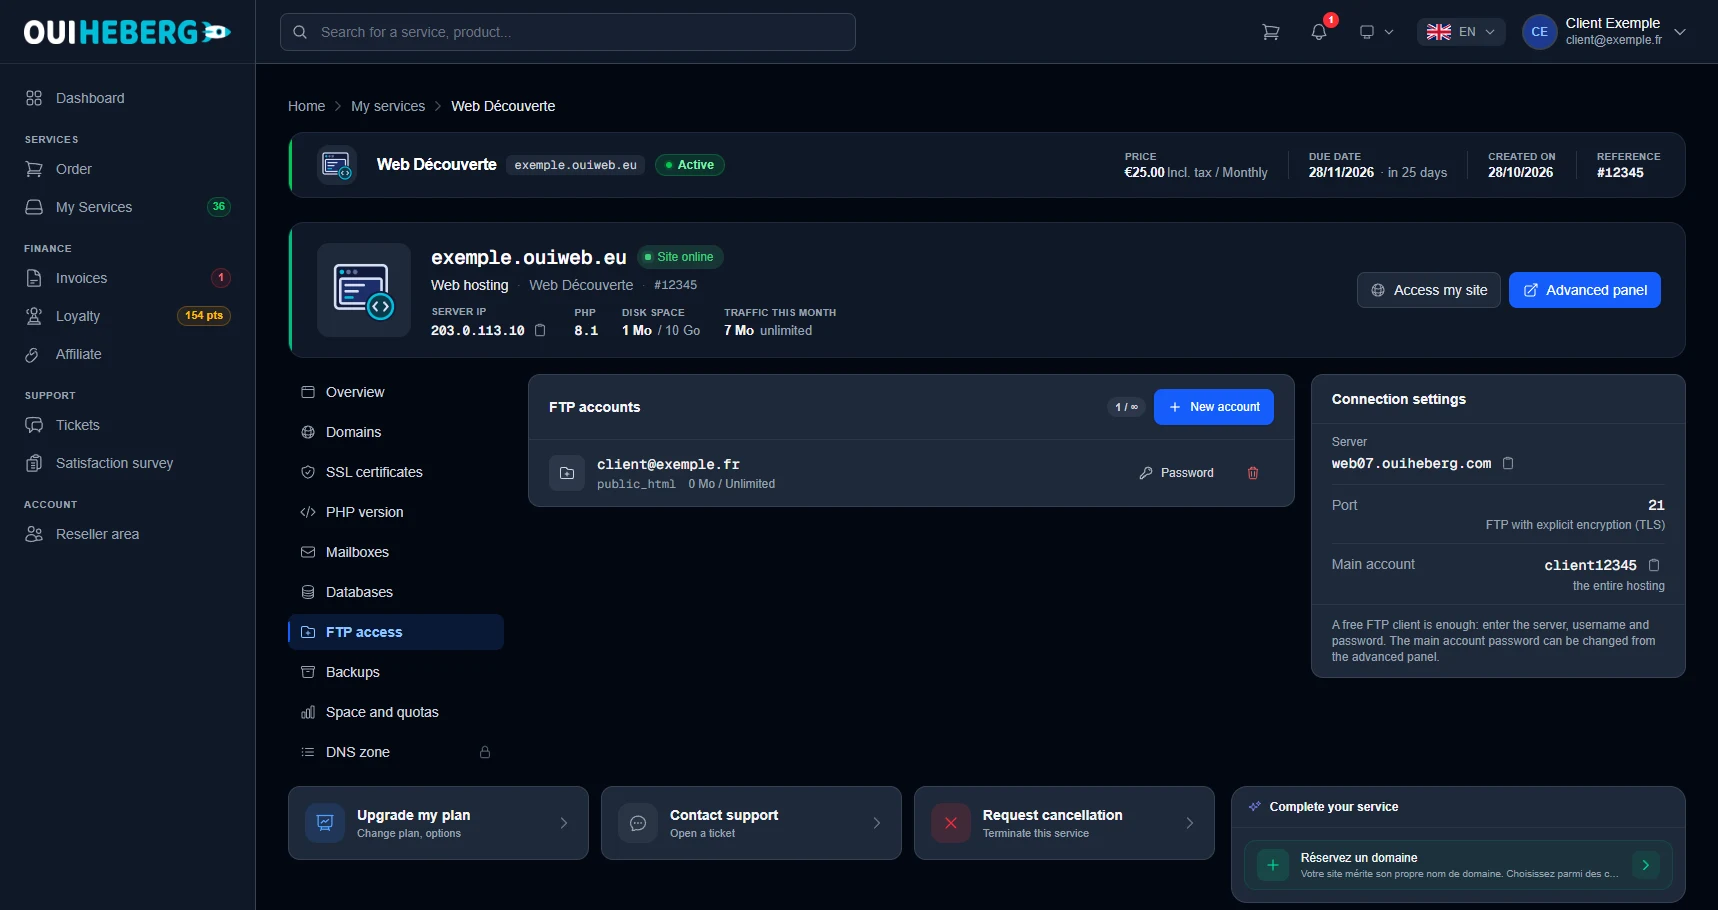
The FTP access tab lists your FTP accounts. Each line shows the account's folder and space, a Password link to change it and a bin icon to delete it. The New account button creates an account restricted to one directory, for example for a contractor.
In your FTP client (FileZilla, for example), enter these details.
The Server shown in the Connection settings card.
Port
21, using FTP with explicit encryption (TLS).The account's username and password.
The Main account opens the whole hosting space. Its password is changed from the advanced panel.
To go further, read Manage FTP accounts on cPanel.
Change the PHP version
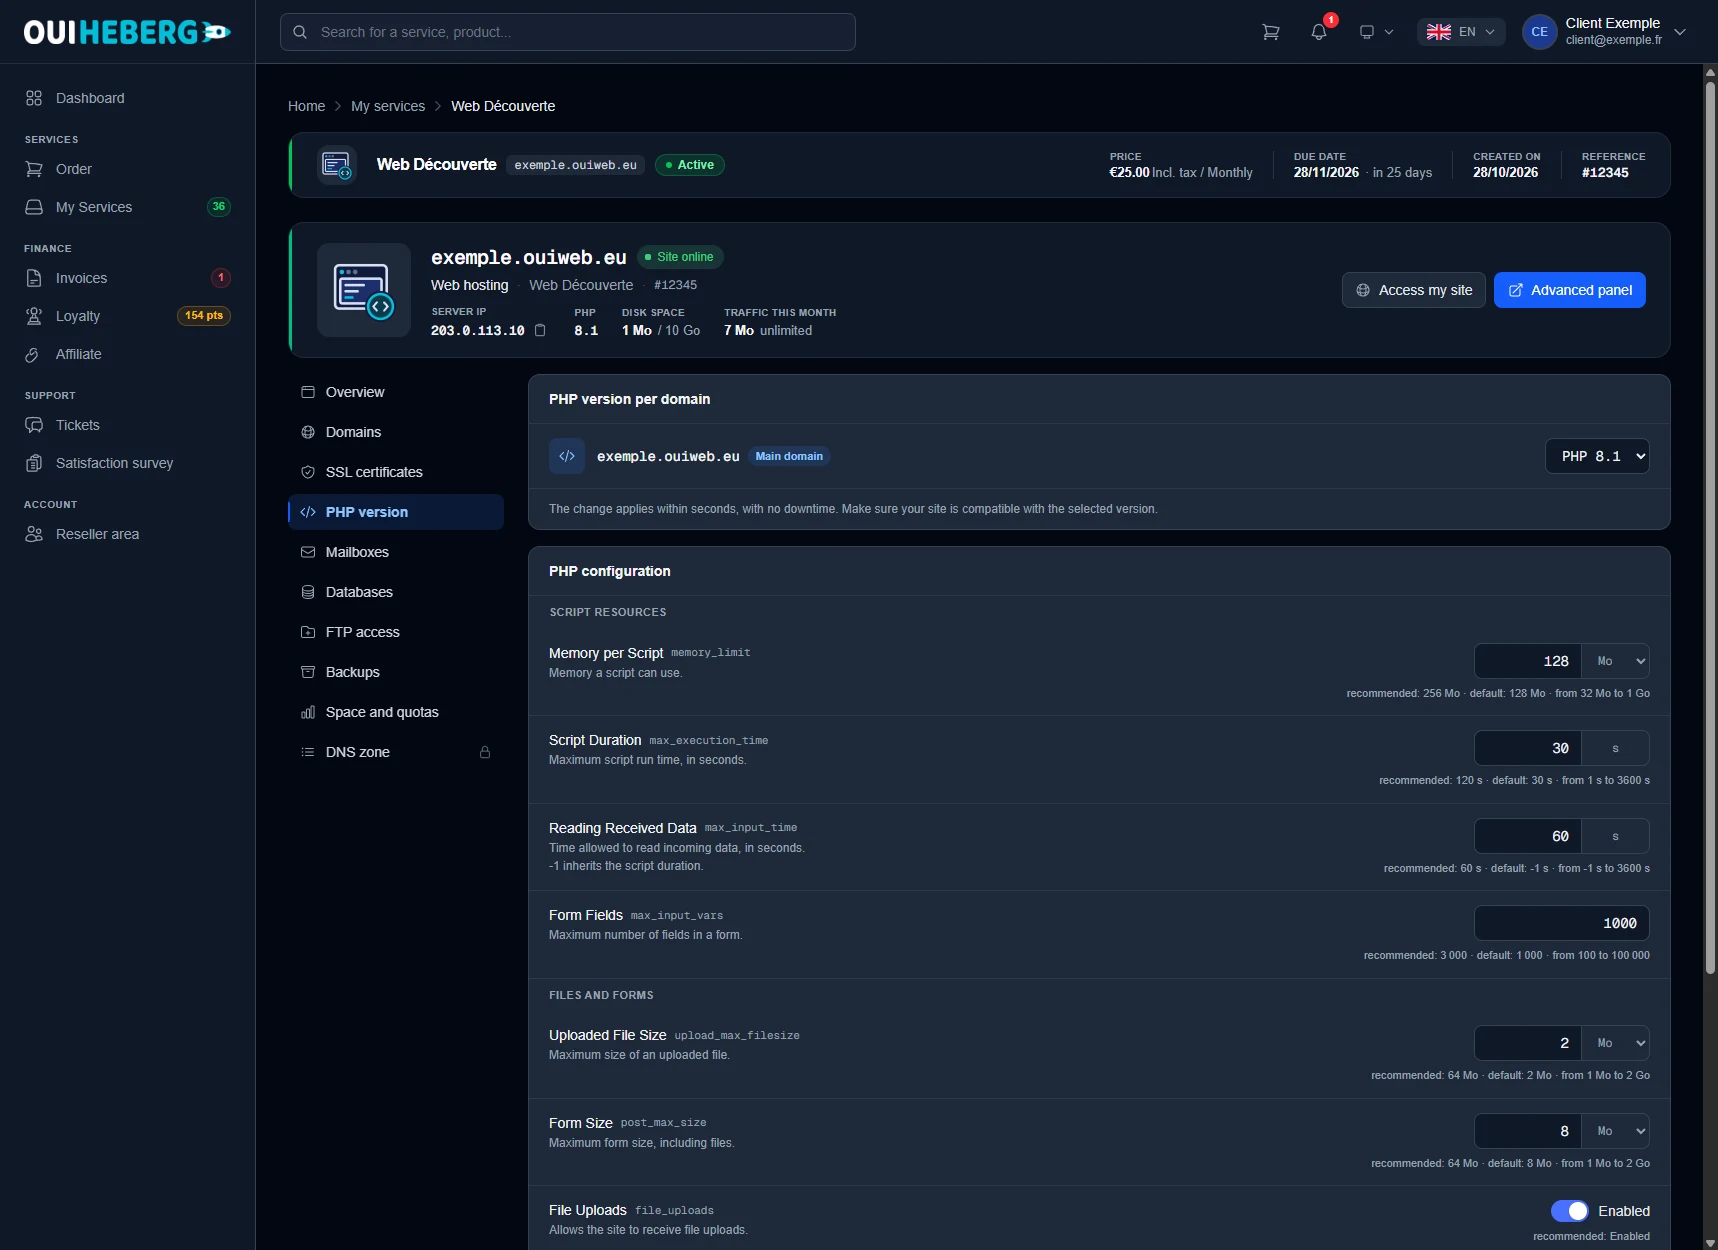
In the PHP version tab, the PHP version per domain card has a drop-down list for each domain. Pick the version you need. Before switching, check that your site, its theme and its plugins support that version.
Further down, the PHP configuration card sets the most useful limits, such as memory per script (memory_limit), the size of an uploaded file (upload_max_filesize) or of a form (post_max_size). For each setting, the page shows the recommended value, the default value and the allowed range. All other directives remain available from the advanced panel.
💡 A large upload keeps failing? Raise
upload_max_filesizeandpost_max_size, keeping the second at least as high as the first.
Backups and restore
The Backups tab has three cards.
Automatic backups describes the backup included in your plan. According to the page, it runs every night, is kept for several days, and covers the site files, the databases and the mailboxes.
Restore points lists the backups available.
Full archives holds your copies of the whole hosting space. The Create an archive button starts one. An archive counts toward your disk space.
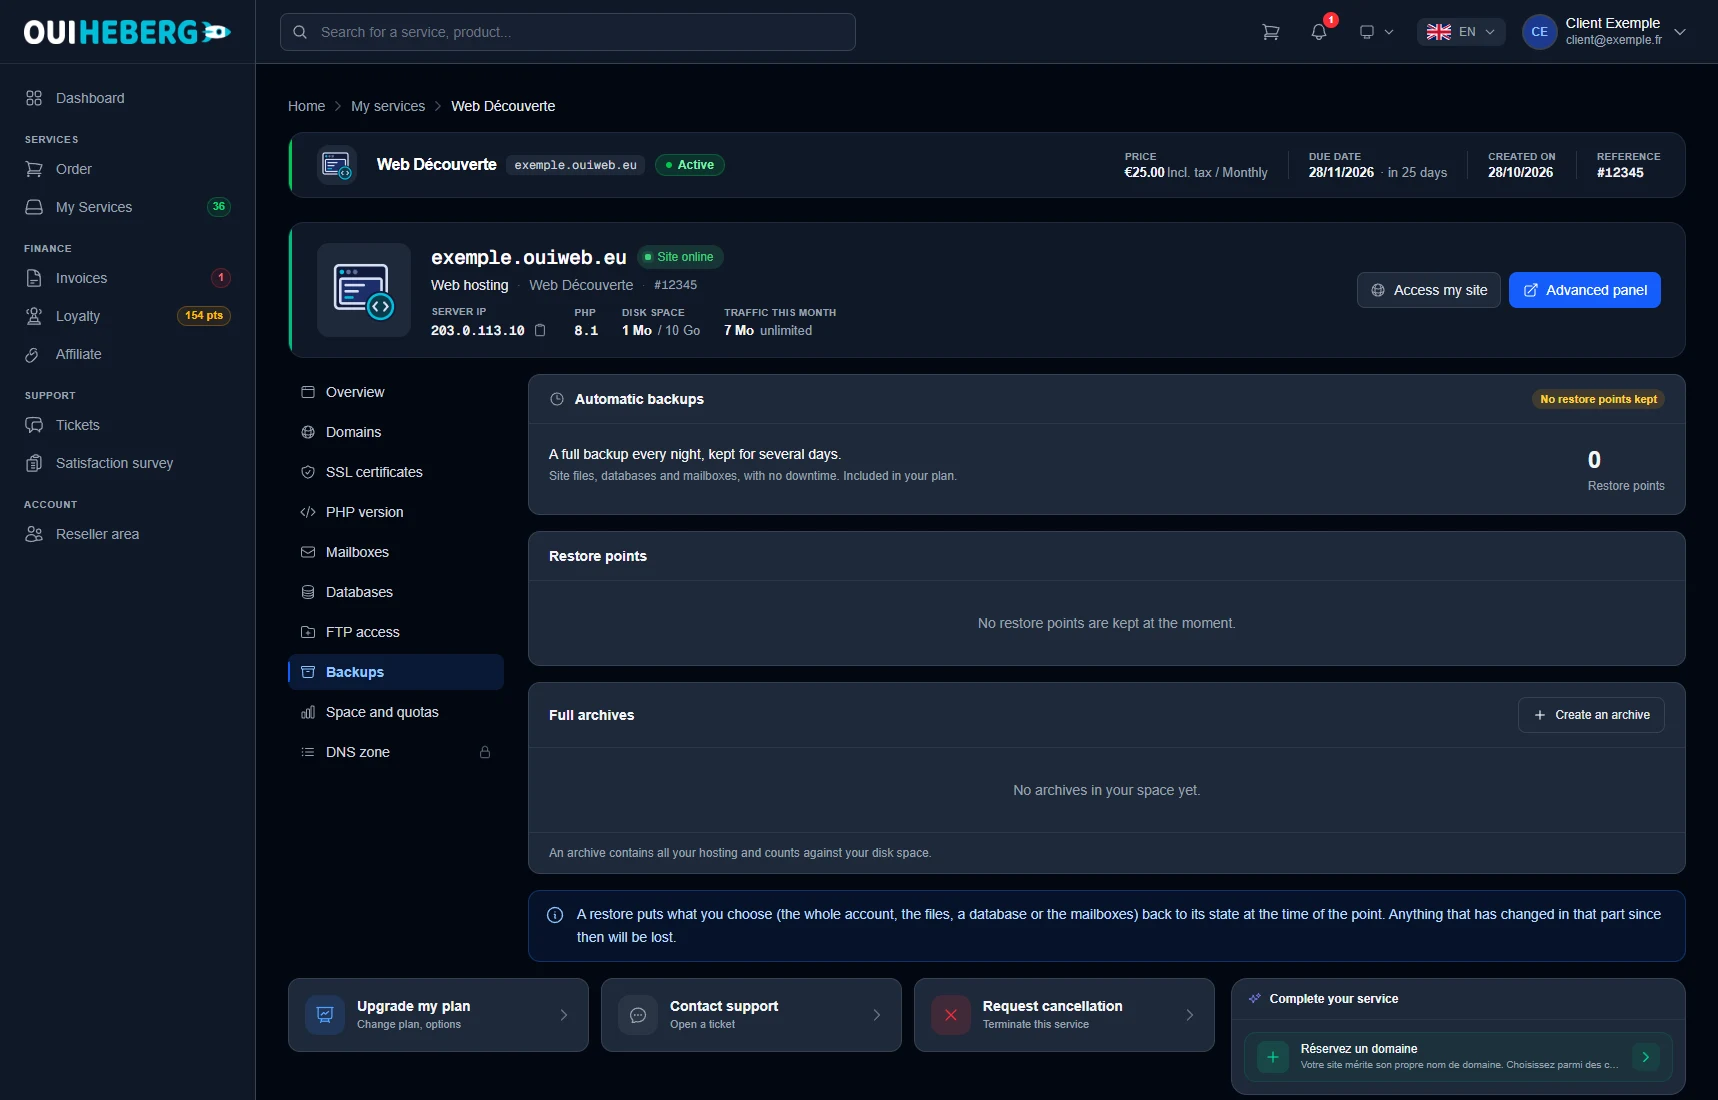
A restore puts what you choose (the whole account, the files, one database or the mailboxes) back to its state at the time of the restore point. Anything changed in that part since then is lost. If in doubt, create an archive first.
Domains and subdomains
The Domains tab shows the main domain, served from the public_html folder, and the hosting's nameservers, ns1.ouiheberg.com to ns4.ouiheberg.com.
Add a domain attaches an addon domain, if your plan includes any. If it does not, the page says so and suggests the next plan up.
In the Subdomains card, the Add button creates a subdomain (blog, shop…). The counter shows how many your plan allows.
Prefer cPanel? Follow How to add a domain on cPanel.
Edit the DNS zone with Expert Mode
The DNS zone tab shows a padlock. It belongs to Expert Mode, which groups features for more advanced use. Click it and an Expert Mode window opens.
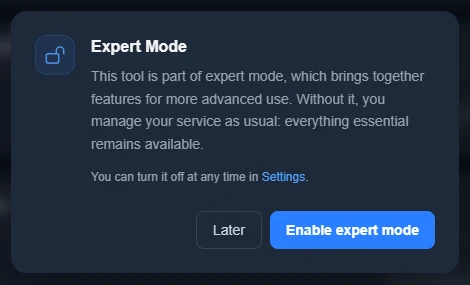
Click Enable expert mode. The Later button closes the window without changing anything.
The DNS zone tab is now unlocked. The Add button creates a record.
You can turn Expert Mode off at any time in your account settings, under Expert Mode.
The zone only applies if your domain uses the hosting's nameservers. If it points elsewhere, its records are managed with that provider. For what each record type does (A, CNAME, MX, TXT…), see Create and manage your DNS records on cPanel.
Need help?
Open a ticket from Tickets › Open a ticket (dash.ouiheberg.com/tickets/new), or click the Contact support tile at the bottom of your hosting page. You can also ask your question on our Discord.