
 Client area
Configure your Arma 3 server: Steam account, mods, missions and server.cfg
This guide shows how to configure your Arma 3 server in OuiPanel, the OuiHeberg game panel. You will see how to enter the Steam account that installs the game, join the server, set the players and the password, add mods and missions, edit server.cfg and log in as administrator.
The Arma 3 dedicated server downloads with a Steam account. Anonymous login is not accepted, so you need to give your server a Steam account.
The server creation form does not ask for a Steam account, but Arma 3 cannot install without one. Until you enter it, the installation fails without any message in the console and the game is not downloaded, even though the
server.cfgandbasic.cfgfiles appear. The server then cannot start. Begin with the "Enter a Steam account" part.
Get what you need
You need three things.
Arma 3 on PC, for every player, yourself included. The game is played on Steam, there is no console version and no crossplay.
A Steam account for the server, with Steam Guard turned off. We recommend a secondary account created for this purpose rather than your main account. To download Workshop mods, this account must own Arma 3.
Your Arma 3 server, which you open in OuiPanel at dash.ouipanel.com with the Login with OuiHeberg.com button, or from your client area with the Connect to game panel button on the server's page.
Enter a Steam account
The Steam account is used to download the server and its updates. Its password is stored in plain text in the server settings, and visible to sub-users who have access to these settings. That is why we recommend a secondary account.
First turn off Steam Guard on this account. In the Steam client, open Settings, then Security, and disable Steam Guard. Otherwise, the server's connection to Steam fails.
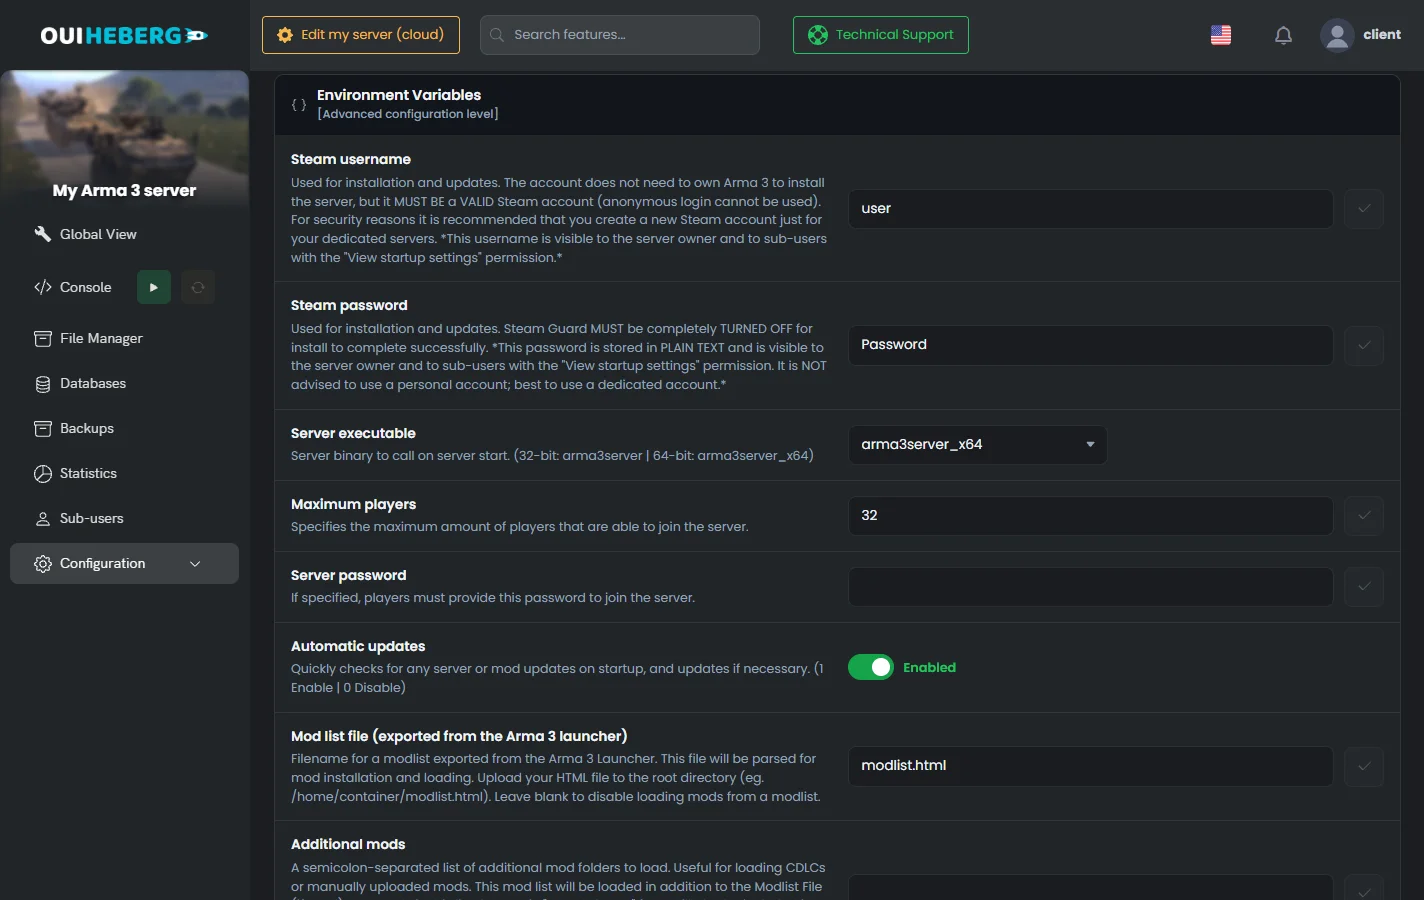
In the OuiPanel side menu, click Configuration › Server Settings.
On the Environment Variables card, fill in Steam username (
STEAM_USER) with the account's login name, then Steam password (STEAM_PASS) with its password, instead of the default valuesuserandPassword.Click the check mark to the right of each field (Save). Until you click it, the field shows "Not saved".
On the same page, click Reinstall server, then Reinstall in the "Reinstallation confirmation" window.
Wait for the reinstall to finish. It downloads the game with this account, about 5 GB.
In Console, click Start.
A reinstall does not touch your mods, keys or missions, and keeps your
server.cfgfile. You can run it again after changing the Steam account.
Join the server
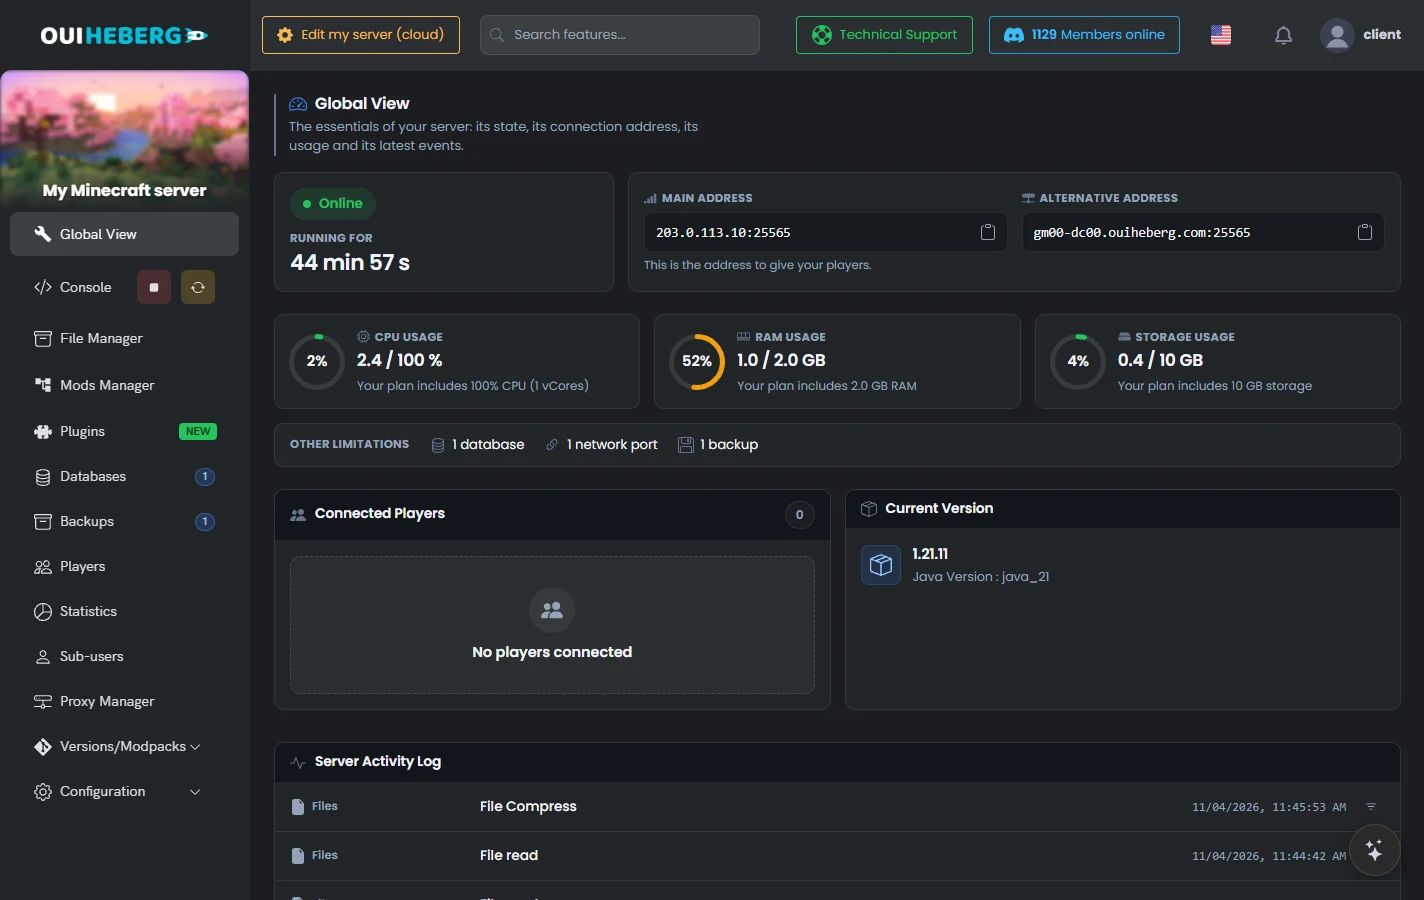
In Global View, note your server's Main address, with its port.
Open the Arma 3 launcher, then the servers tab.
Choose the direct connection (Direct Connect).
Enter the IP address and port, then connect.
Your players join the server the same way. They must have loaded the same mods as the server. If you set a password, the game asks for it.
Set the players and the password
Two startup variables control access to the server.
| Variable | What it does |
|---|---|
| Maximum players | The number of players, adjustable. |
| Server password | The password to join. Left empty, the server is open to everyone. |
In Configuration › Server Settings, Environment Variables card, change the variable, then click the check mark to the right of the field.
In Console, click Restart.
These two values are rewritten into server.cfg at every startup. Always change them in the variables, not in the file.
Run headless clients
The [Advanced] Headless clients (HC) variable starts up to five headless clients next to the server, to take load off the AI. Count about 2 GB of memory for each, taken from your plan.
Add mods
There are two ways to add mods. Mods are not covered by our support.
By hand, over SFTP
In Console, click Stop.
Put your mod folders, whose names start with
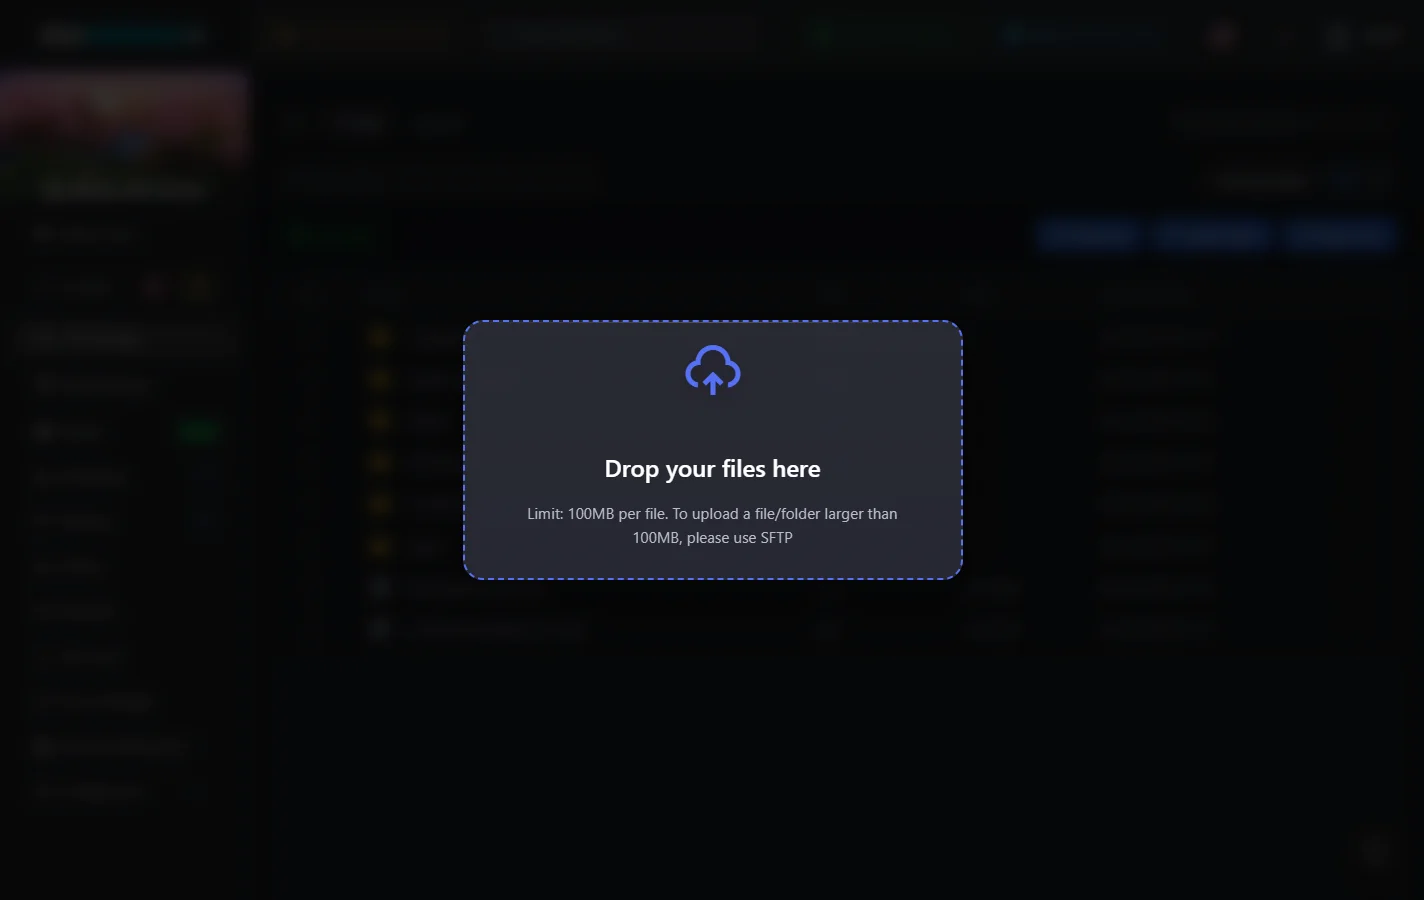
@, at the server root. SFTP is the easiest way for large folders. The guide How to connect via SFTP with FileZilla explains how to connect. The File Manager also accepts drag and drop, up to 100 MB per file.Copy each mod's
.bikeykeys (in itskeysorkeyfolder) to the server'skeysfolder. For mods added by hand, the server does not do it.In the Additional mods variable, list the folders separated by semicolons, for example
@CBA_A3;@ace.In Console, click Start.
A mod copied from Windows does not load? Set the [Repair] Make mod files lowercase variable to 1 for one startup. It turns file names to lowercase. Then set it back to 0.
With the Workshop
If the Steam account you entered owns Arma 3, the server can download Steam Workshop mods by itself.
In the Arma 3 launcher, open the mods tab, then export your mod list as an HTML file.
Put this file at the server root under the name
modlist.html, the name expected by the Mod list file (exported from the Arma 3 launcher) variable.Start the server. It downloads the mods, copies their keys into
keysand updates them at every startup.
You can also enter a Workshop mod in Additional mods, as @ followed by the number of its Workshop page, for example @450814997. The number is the one after id= in the page address.
A mod that only runs on the server goes in [Advanced] Server-side only mods. Your players do not need to load it.
Edit server.cfg and the missions
The server.cfg file, at the server root, opens in the File Manager or over SFTP. Click it to open the "Editing server.cfg" window, change your lines, then click Save. You set these lines in particular.
hostname, the server name.motd[], the welcome messages.forcedDifficulty, the difficulty.verifySignatures, mod signature checks (2by default).BattlEye, the game's anti-cheat (1by default).
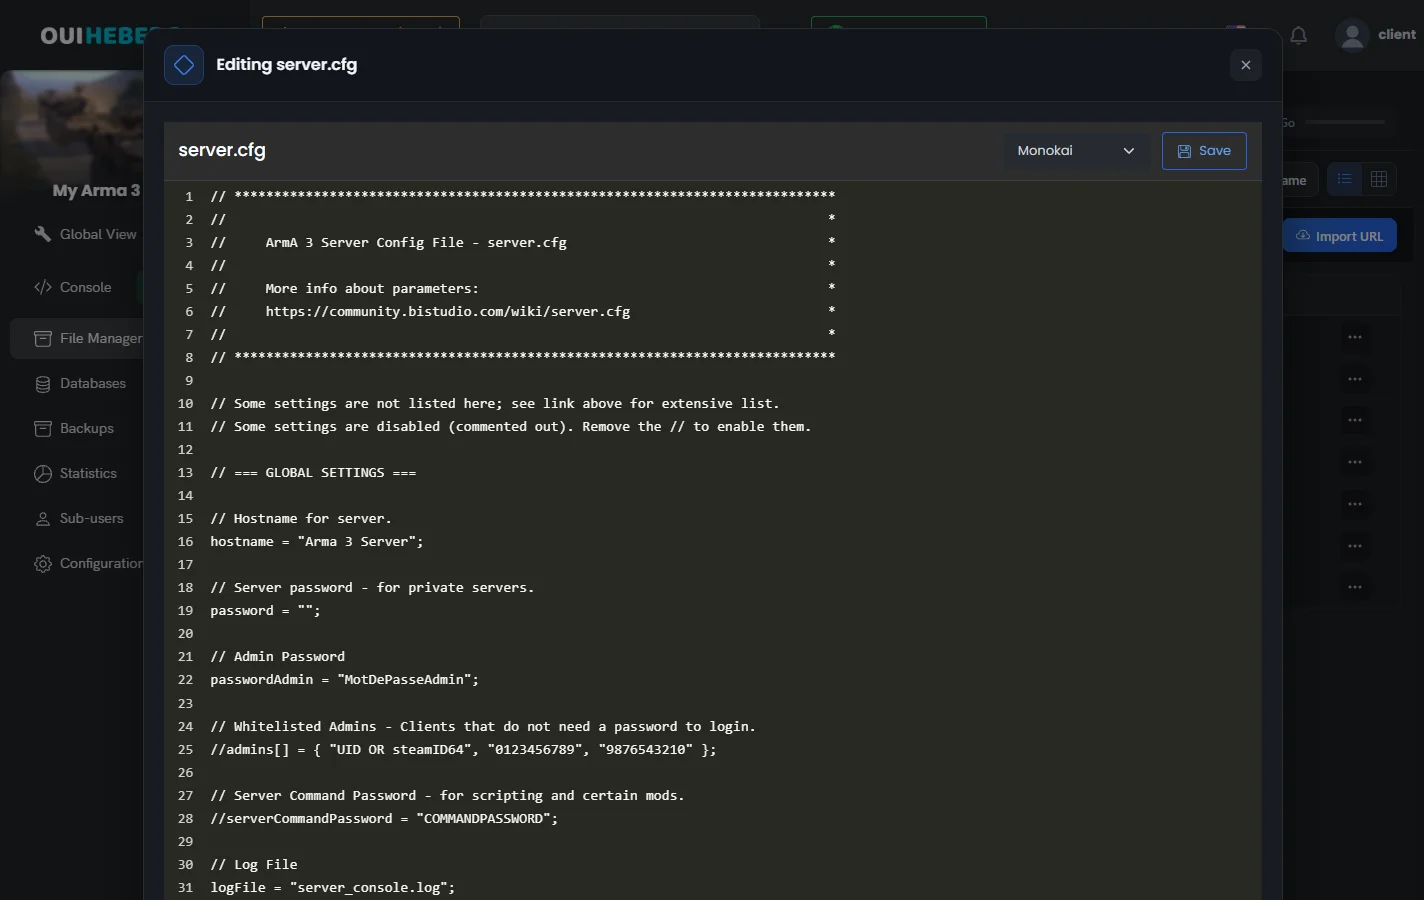
The join password, the player count and the admin password are rewritten into
server.cfgat every startup, from the OuiPanel variables. Change them in the variables. A change in the file would be erased at the next startup.
Add a mission
Put the mission's
.pbofile in theMPMissionsfolder, over SFTP or with the File Manager.Open
server.cfgand look for theMissionsclass.On the
templateline, write the file name without the.pboextension.Click Save, then restart the server.
class Missions
{
    class Mission1
    {
        template = MyMission.Altis;
        difficulty = "Regular";
        class Params {};
    };
};
To run several missions in a row, add Mission2 and Mission3 classes on the same model.
Become administrator
The admin password is generated when your server is delivered. It is in the Admin password variable (ADMIN_PASSWORD), where you can change it.
Join your server.
Open the chat and type
#loginfollowed by the admin password.You then have access to admin commands, for example
#missionsto choose the mission,#kickto remove a player or#restartto restart the mission.Type
#logoutto leave the administrator role.
Keep this password to yourself and change it if you have shared it.
Update the server
With the Automatic updates variable set to 1, as by default, the server checks for the latest game version at every startup and downloads it if needed. To benefit from it without thinking about it, schedule a restart every night.
In the side menu, click Configuration › Scheduling, then Create new schedule.
Pick a night-time hour in Frequency, then click Create schedule.
Open the schedule details, click Create new task and choose the Power action to restart the server.
Choose the branch and Creator DLC
The Arma 3 branch (CDLC, etc.) variable chooses the game branch, public by default, creatordlc for Creator DLC, profiling for the profiling branch.
For a Creator DLC, set Arma 3 branch (CDLC, etc.) to creatordlc, restart, then add the DLC folder in Additional mods. Check that your players own the DLC.
Back up the server
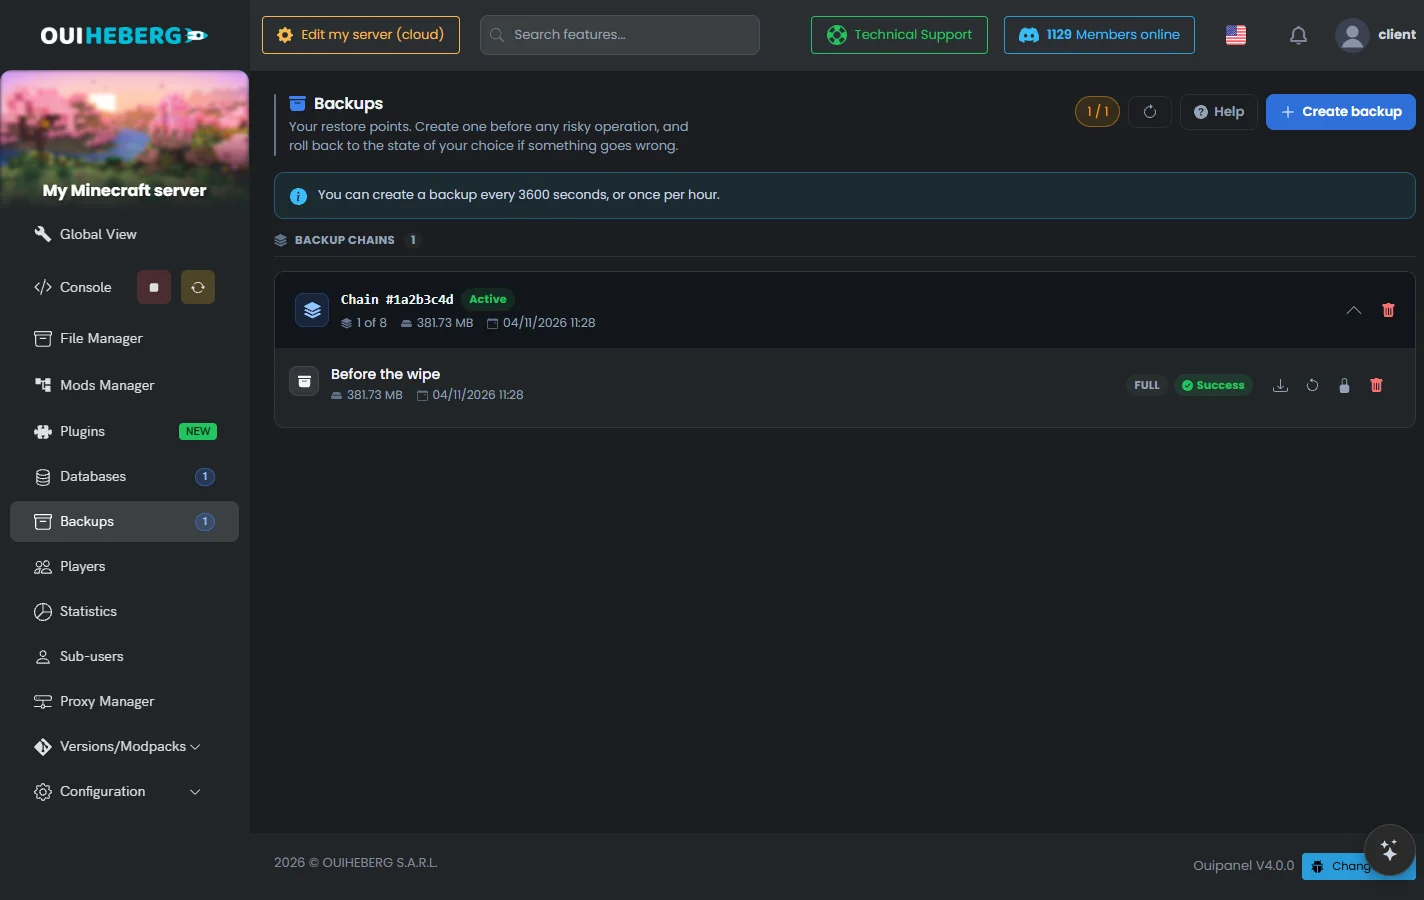
A backup includes the whole server, game and mods included. With a large modset, it is big.
In the side menu, click Backups, then Create backup.
Enter a name if you like, then click Create backup in the window.
To schedule backups, open Configuration › Scheduling and create a schedule with a Backup task.
Fix common issues
The console shows "Invalid Password"
Check the Steam account's login name and password, and that Steam Guard is really off, then reinstall the server.
The server does not start
Was a Steam account entered, then the server reinstalled? Without these two steps, the game is not installed.
A mod does not load
Check the folder name in Additional mods and try the [Repair] Make mod files lowercase variable.
A player is refused because of their mods
With verifySignatures = 2, every mod must have its .bikey key in the server's keys folder, and the player must load the same mods.
Need help?
Open a ticket from Tickets › Open a Ticket, or from the Contact support tile at the bottom of your server's page in the client area. You can also ask your question on the OuiHeberg Discord.
Arma 3 server hosting from $3.46/mo, with server.cfg in OuiPanel, MySQL databases and backups included.
View plans →